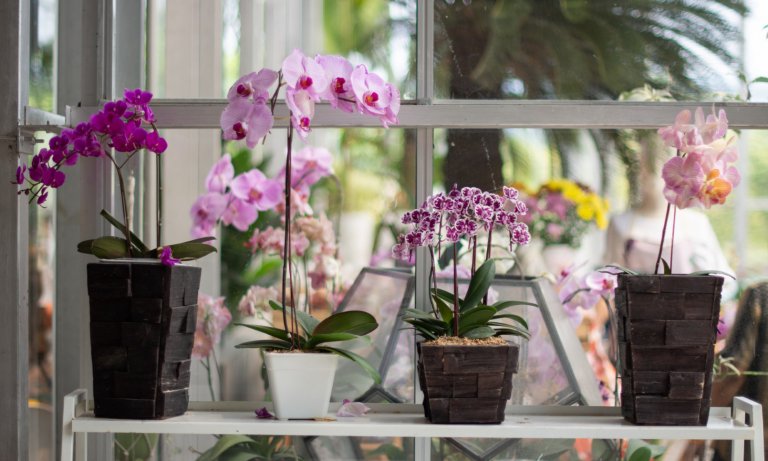
If you’ve noticed your orchid leaves turning yellow, you’re not alone. This is one of the most common problems you’ll face as an orchid grower.
It can happen for a variety of reasons and can be quite concerning at first. However, this is usually pretty easy to fix, and you shouldn’t worry about it too much.
Sometimes you don’t need to do anything at all!
This guide covers the nine most common causes of yellow leaves. Here’s how to identify and fix each one:
Too Much Direct Light (Sunburn)
The number one most common cause of yellow leaves is sunburn due to too much direct sunlight.
Orchids generally need to be in a bright location, but not bathed in sunshine. However, some are more tolerant of light than others. The correct amount will depend on the genus (and sometimes exact species) of your orchid.
How to Fix: First, check what type of orchid you have. Its light requirements will depend on its natural habitat. Some orchids naturally grow under thick tree cover and are used to having a lot of shade. Others thrive in the open and can tolerate more direct sunlight.
Move your orchid to a spot that’s a bit more shaded if you suspect this to be the problem. It’s generally best to avoid north-facing windows, as these let in the most light.
Hard Water
When watering your orchid, the type of water you’re using might not be the first thing on your mind. However, this can actually make a big difference.
Many people live in areas with hard tap water, which has high levels of dissolved minerals such as magnesium and calcium. These can cause problems with your plant’s absorption of nutrients.
As a result, your orchid can develop yellow leaves.
How to Fix: There are a few ways to fix this problem:
- Use distilled water to water your orchid, as this is very pure.
- Use bottled water, which is generally quite soft compared to tap water.
- Invest in a water softener, which can remove some of the minerals from your tap water.
Water softeners can be quite expensive, but they’re very effective and are a great investment. They also help with chores like washing dishes and doing laundry, as you’ll need less detergent.
- Yarna Salt-Free Water Softener - This water softener uses capacitative technology to soften your water, so it's salt-free. It's also from a smaller brand, so you'll be supporting a small business with this one!
- AO Smith Whole-House Water Softener - If you want something heavy-duty, this is our pick. This is also salt-free and comes with a 6 year warranty.
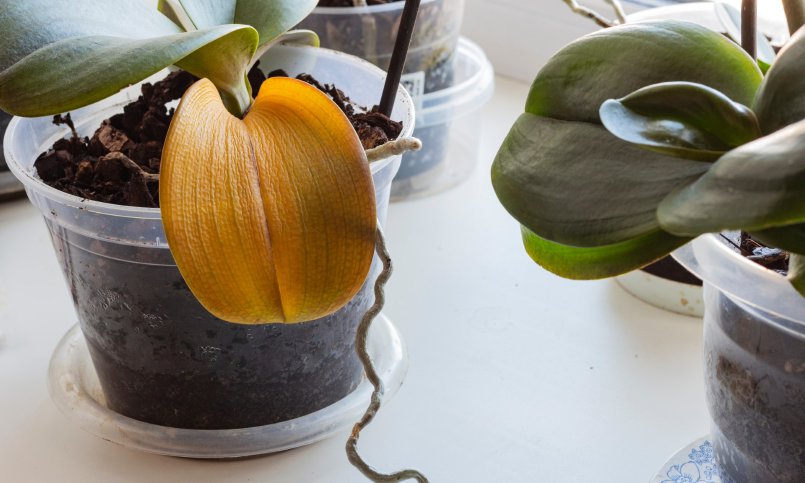
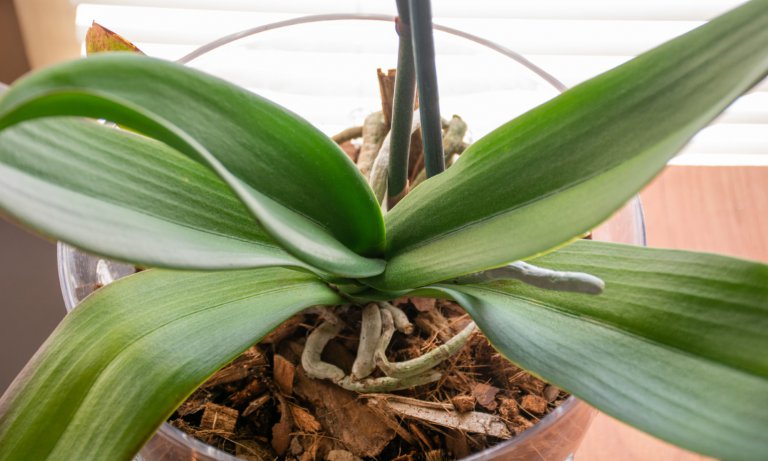
Over-watering (Root Rot)
Over-watering or poor drainage can cause your orchid’s roots to rot. As a result, your orchid will be unable to absorb nutrients effectively, and its leaves will turn yellow.
How to Fix: Only water your orchid when the top inch of the potting medium is dry and the roots are white.
You should also check the pot you’re using. Orchids need to be grown in pots with plenty of drainage holes to ensure proper water drainage.
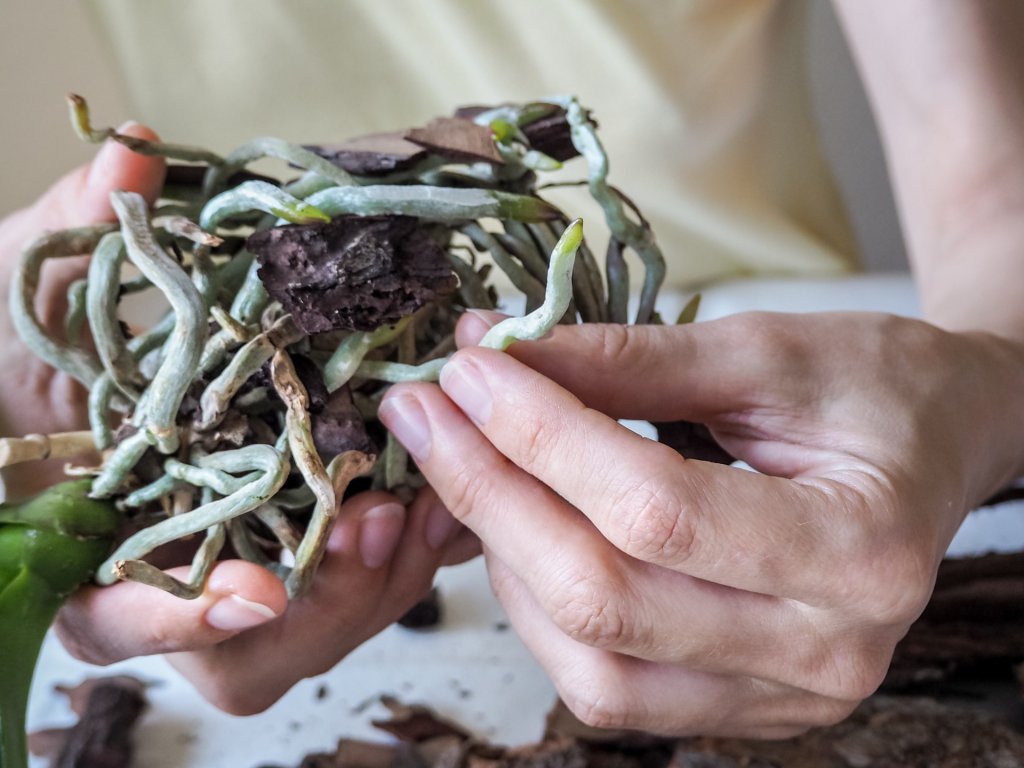
If you suspect the yellow leaves are due to over-watering, your orchid may be suffering from root rot. Inspect the roots to see if the plant still has some healthy green roots.
If so, trim off the rotted roots and repot your plant in fresh potting mix. Don’t water the soil for the first week after repotting, just lightly mist the leaves so the roots will have a chance to recover.
Be sure to check out our watering guide if you’d like to learn how to avoid common watering issues like this.
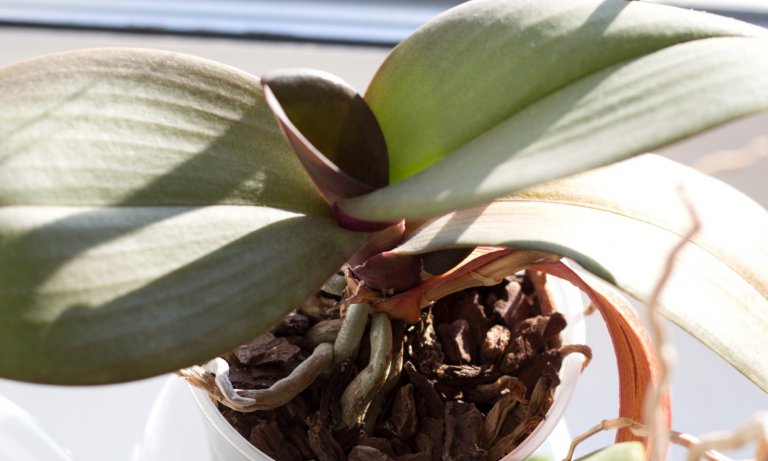
Under-watering (Dehydration)

If your orchid isn’t getting enough water, it will become dehydrated. This can cause yellow leaves, which will also appear dry or shriveled.
This issue is more common with some types of orchid than others.
Orchids with large aerial root systems absorb moisture from the air and can often go for ages without being watered. Others will need more frequent watering to avoid dehydration.
How to Fix: Check your orchid’s roots to confirm the problem:
- If they’re a healthy white color, but the leaves are yellow and wrinkled, this could be an under-watering problem.
- If the roots are going a bit brown and dry, this is a sure sign that they need more water.
- When they’re black or rotten, this is due to over-watering instead. Refer to the section above to fix this.
If you’ve determined that your orchid needs more water, check out our watering guide for the correct techniques. A good rule of thumb is to wait until the top inch of your potting mix is dry before watering.
You should also check what type of orchid you have, along with its specific watering requirements.
Low Temperatures
If your room temperature is too cold, it can cause your orchid’s metabolism to slow down. This can cause problems with its biological processes and result in yellowing leaves.
How to Fix: Adjust your thermostat, or move your orchid to a more suitable spot.
In general, the ideal temperatures for growing orchids are between 65 and 80 F during the day and slightly cooler at night. So if you feel comfortable, your orchid probably will too.
As always, this depends on which type of orchid you have. Your plant will expect to be in an environment similar to its natural habitat.
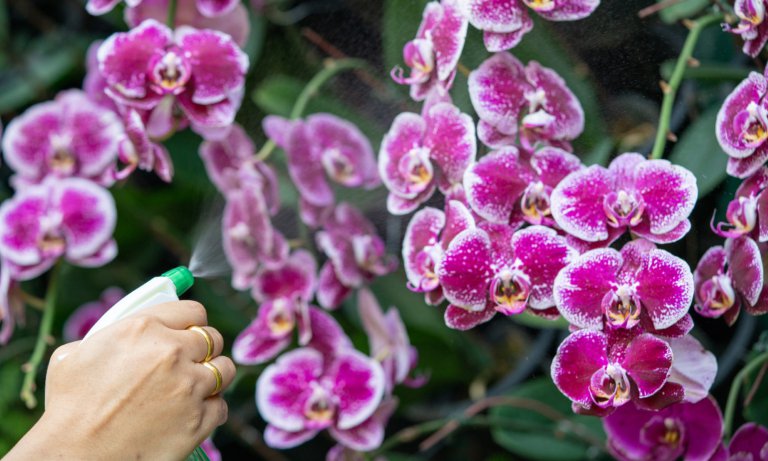
Diseases (Yellow Leaves With Spots)
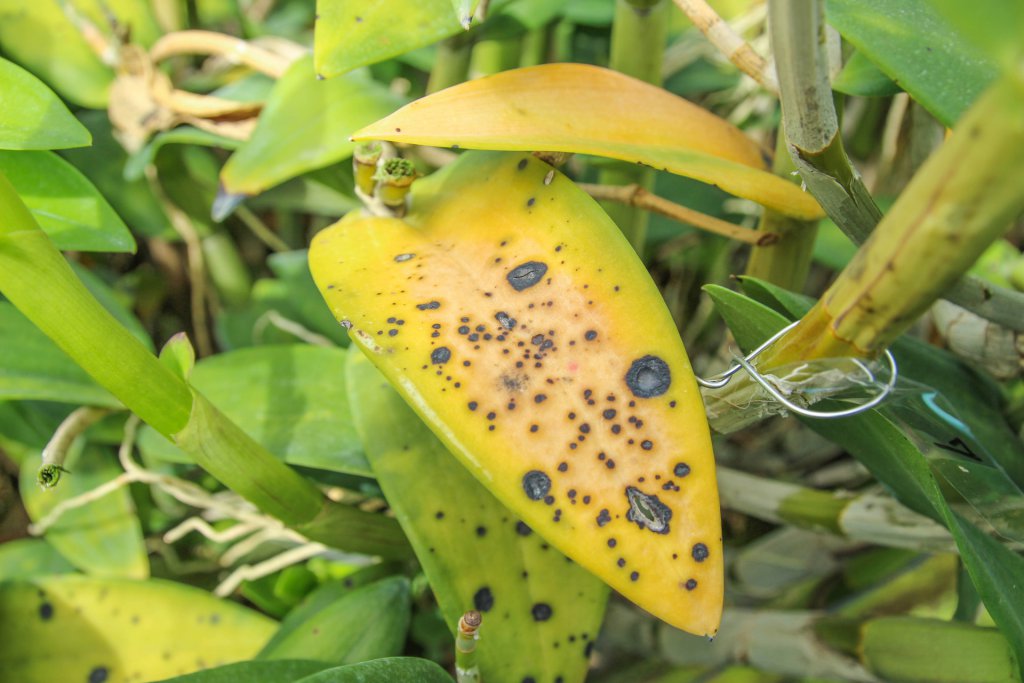
If your orchid’s leaves are turning yellow with black spots, this can indicate a bacterial or fungal disease.
The most common cause is wet leaves or high humidity. This excess moisture provides the perfect environment for diseases to thrive.
You’ll need to act fast to prevent it from spreading.
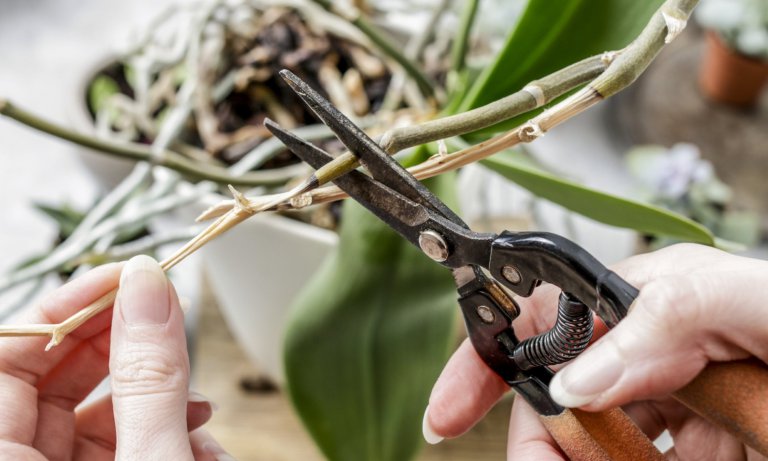
How to Fix: The infected foliage must be cut away. It’s difficult to distinguish between bacterial and fungal infections, so pruning is usually the best course of action.
Use a clean, sharp blade to cut off the infected tissue and about an inch of clean, green area.
If you suspect it’s a fungal infection, apply a fungicide to the cut surface. This will prevent the disease from reoccurring.
Too Much Fertilizer
Applying too much fertilizer is a common mistake, especially for beginners. It’s meant to help your orchid grow faster, so it can be tempting to use it every time you water your plant.
However, you can have too much of a good thing. Orchids generally don’t need a lot of fertilizer, and the excess nutrients can cause problems with absorption. This is similar to the hard water cause.
How to Fix: Make sure you’re following the instructions for your chosen fertilizer. If in doubt, a good rule of thumb is “weekly, weakly.” This will ensure you’re not applying too much.
You should also avoid giving your orchid fertilizer while it’s flowering. Wait until it becomes dormant again before feeding it.
Lack of Nutrients
If your orchid’s leaves are turning yellow at the tips, this can indicate a nutrient deficiency. You’ll see yellow spots or patches around the tip and edges of the leaf.
The most common missing nutrient is potassium, which supports your plant’s metabolism and helps it to grow roots. It’s especially important during spring and summer when your orchid is growing fastest.
How to Fix: Make sure you’re applying a balanced fertilizer. Choose one that’s formulated for your specific type of orchid.
Follow the instructions, and you can be sure that your orchid is getting the right amount of nutrients. Don’t use too much, as this can harm your orchid.
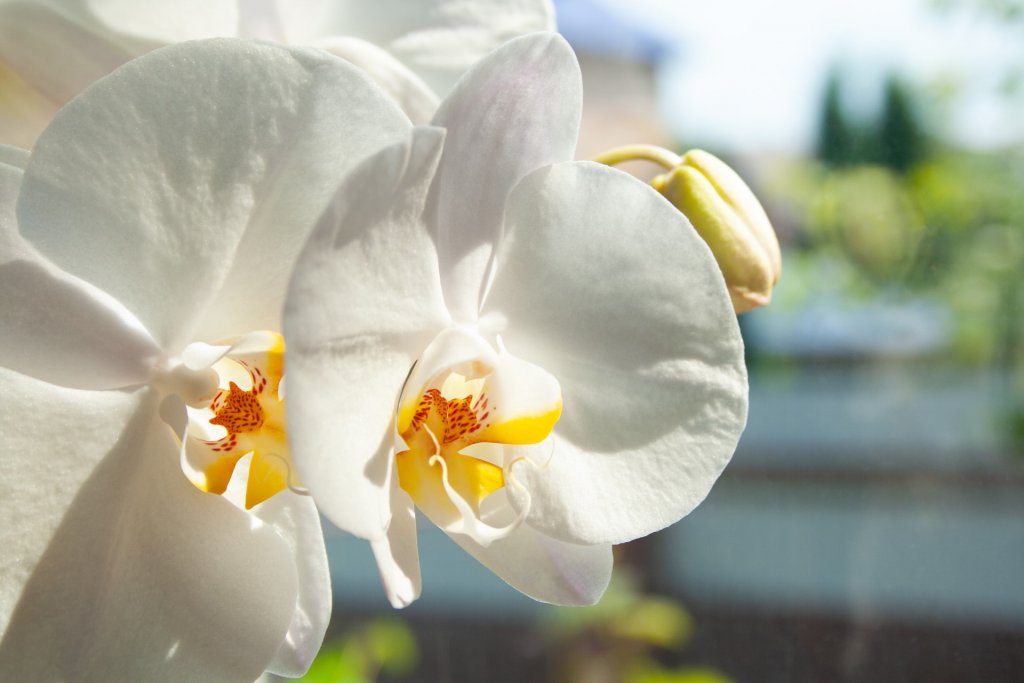
Leaves Yellowing & Falling Off Naturally
Many popular orchids such as Phalaenopsis develop yellow leaves naturally as they age. So if you have an older plant, there’s nothing to worry about.
These leaves will eventually fall off and decompose. Your orchid does this to make space for new leaves, and so it can recycle nutrients from the old ones.
How to Fix: The best thing to do is simply wait for the plant to shed these old leaves.
If you prefer, you can trim them off with a sharp blade once they look like they’re about to die. However, this isn’t necessary and could harm your plant if you do it wrong.
So we recommend waiting for them to drop naturally. Let your orchid do its thing!
Summary & Cheat Sheet
It can take a bit of practice to tell the difference between these problems, but once you can, they’ll become super simple to fix.
Here’s a summary of the top nine causes of yellow leaves:
| Cause | How to Fix |
| Sunburn | Move your plant to a spot with some shade |
| Hard water | Use a water softener or distilled/bottled water |
| Over-watering | Check roots for rot. Water only when the top inch of potting mix is dry |
| Under-watering | Check leaves for wrinkles. Water your plant more frequently depending on the type |
| Low temperatures | Check your orchid’s natural habitat. Increase your room temperature to match |
| Diseases | Cut away the infected tissue. Apply fungicide |
| Too much fertilizer | Follow the instructions and apply sparingly |
| Lack of nutrients | Apply a balanced fertilizer |
| Natural yellow leaves | Wait for leaves to drop naturally |
We hope you found this care guide useful. Did we miss anything? Let us know in the comments below!
Great content! Super high-quality! Keep it up! 🙂
I value the details on your websites. Much thanks.
Many thanks, this website is extremely practical.
Thanks very much for the tips. I put my Orchid in the garden to get some sun but looks like I over did it and it got sun burn. I have not brought it back in to recover. Thanks again.