
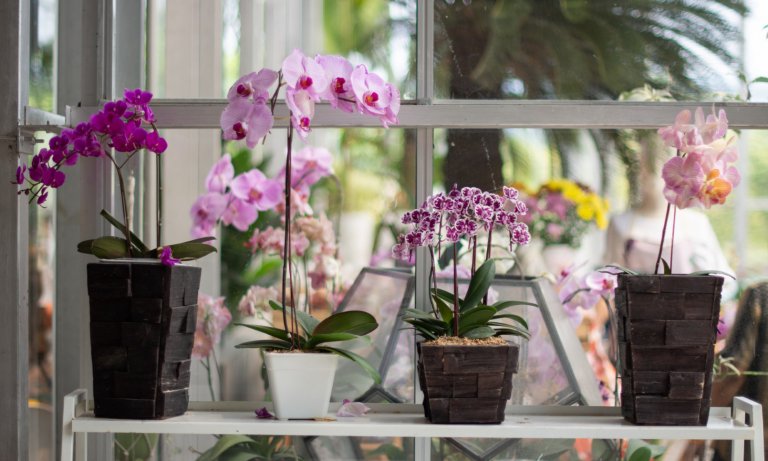
Orchids, with their vibrant colors and elegant shapes, are some of the most popular indoor plants. They can be grown either from seed or by dividing the plant and using a process known as propagation.
Propagating orchids may seem like a challenge initially, but the process is actually quite simple.
What is Propagation?
Propagation is the process of taking a cutting from a plant, or dividing the plant itself in half, and then planting this new cutting. The cutting sprouts and an entirely new plant is created. Since propagation is an asexual means of reproduction, this plant will be a direct clone of the parent plant and will have all of the same features and characteristics.
Gardeners commonly use plant propagation for several reasons.
First, it is a perfect way for beginner orchid enthusiasts to grow their plant collection. Secondly, it helps to maintain plant size when plants have grown too large. The final reason people utilize propagation is that it produces clones. If a plant is particularly healthy or has produced a spectacular color or bloom, it can be a great idea to use propagation to make more of the same plants.
There are a few effective propagation methods to choose from. Gardeners can simply divide a large plant in half and plant each half separately. This is also known as rhizome propagation. You can also take stem cuttings or cuttings of aerial roots. Some orchid types periodically sprout baby offshoot plants, known as Keiki, and these can also be used in propagation.
Propagation vs. Seeds
People may wonder what the difference is between propagation and raising a plant from seed.
Using seeds is a method of sexual reproduction, in that two different plants will have cross-pollinated to produce a new plant with some characteristics of both of the parent plants. Raising plants from seeds can be challenging because seedlings are so delicate.
Propagation, on the other hand, is often much quicker than waiting for seeds to germinate and then raising those seedlings. The gardener also knows precisely what the propagated plant will be like, as it will be identical to the parent plant.
Depending on the method used, propagation can be ideal for beginner gardeners because it’s much more straightforward. Again, it can help beginners expand their plant collections without needing to purchase new plants or seeds.
Propagation Methods
Deciding which method to use depends a lot on the type of orchid being propagated.
Monopodial orchids, such as the Phalaenopsis and Vanda varieties, have one tall, vertical stem, and aerial roots often grow from this stem. They also have nodes at the base of each stem that occasionally develop into new offshoot plants called Keiki.
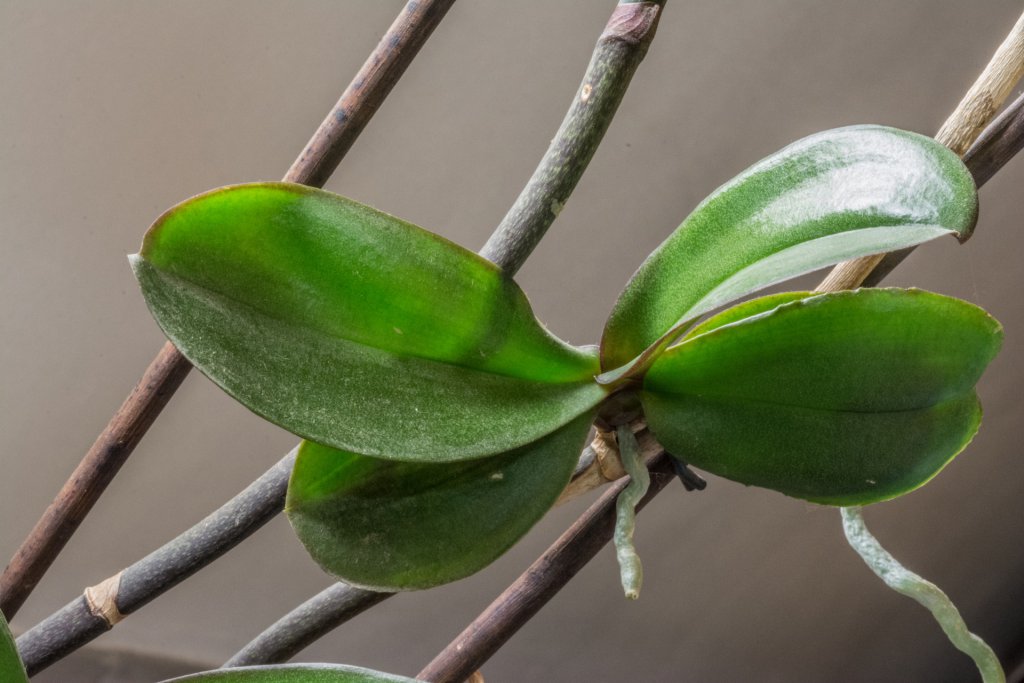
Sympodial orchids, on the other hand, grow along a long, horizontal stem called a rhizome. Roots grow from the bottom of the rhizome, and pseudobulbs, which store water, grow from the top of the rhizome. Common examples of sympodial orchids are Oncidium, Cymbidium, Paphiopedilums, Dendrobium, and Cattleya.
The propagation methods of division, back bulb propagation, and stem cutting propagation work well with sympodial orchids. Monopodial orchids, however, do well when Keiki propagation or aerial root propagation is used.
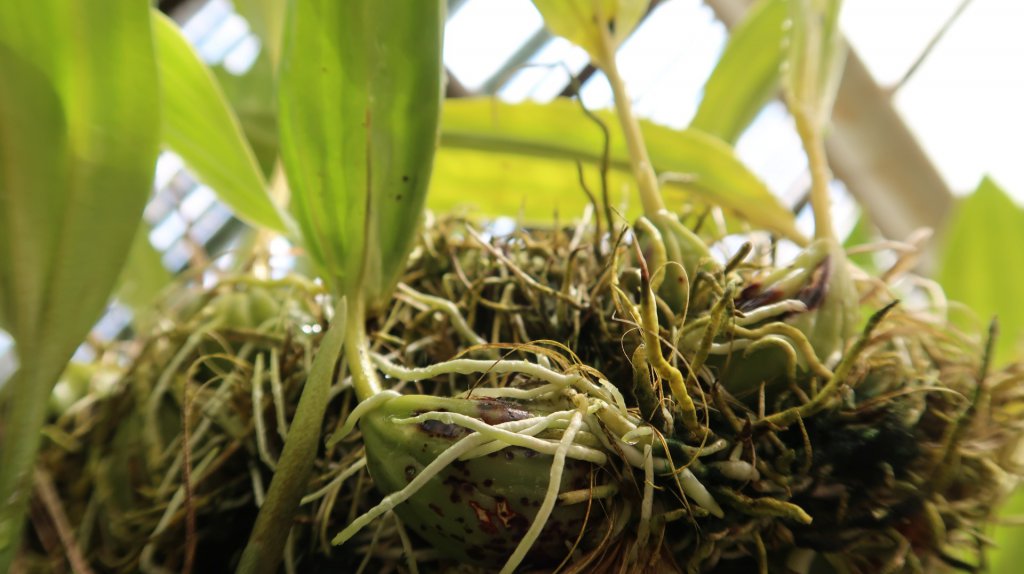
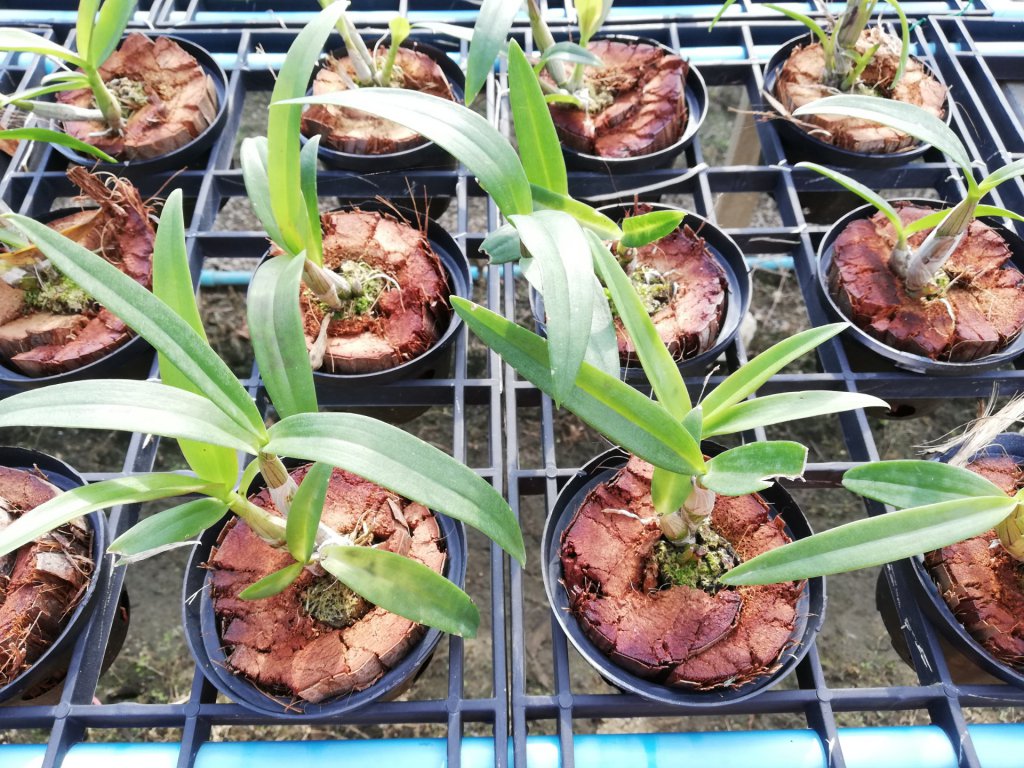
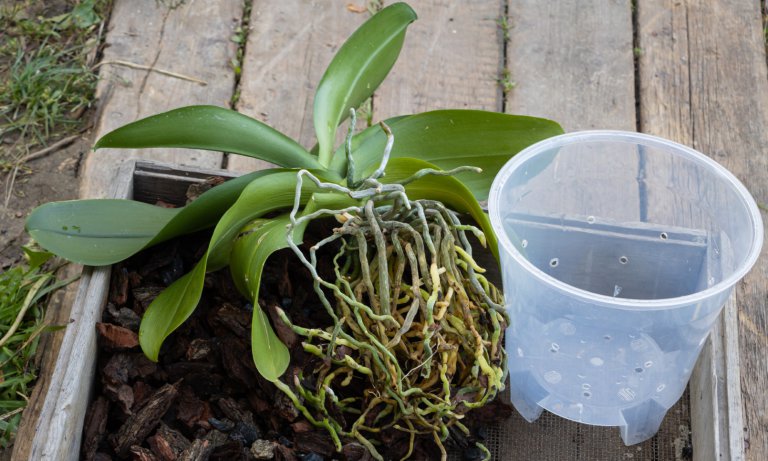
Plant Division
Large orchid plants can be split into different sections, from which several new plants can be grown. Before cutting the plant, carefully examine the root structure to determine where to make the cuts. Split sympodial orchids into sections of about three to four inches. Each section should include at least three mature pseudobulbs.
You can perform division using a clean, sharp knife, a pair of shears, or even by gently pulling the plant apart. In many cases, the plant will have a natural area where it splits easily, and it’s a good idea to follow that division as much as possible.
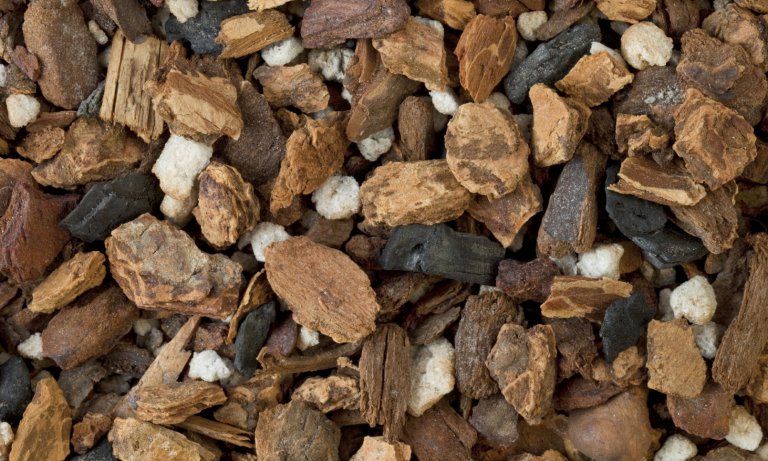
Once the plant is divided, it can be easily repotted. It’s important to remove any dead roots or leaves. You should also remove old pseudobulbs. The new, smaller plants should be cared for in the same way that the old orchid was.
This type of propagation is also known as rhizome propagation. Essentially, it’s the plant’s rhizome that is cut and split up during division propagation.
Back Bulbs
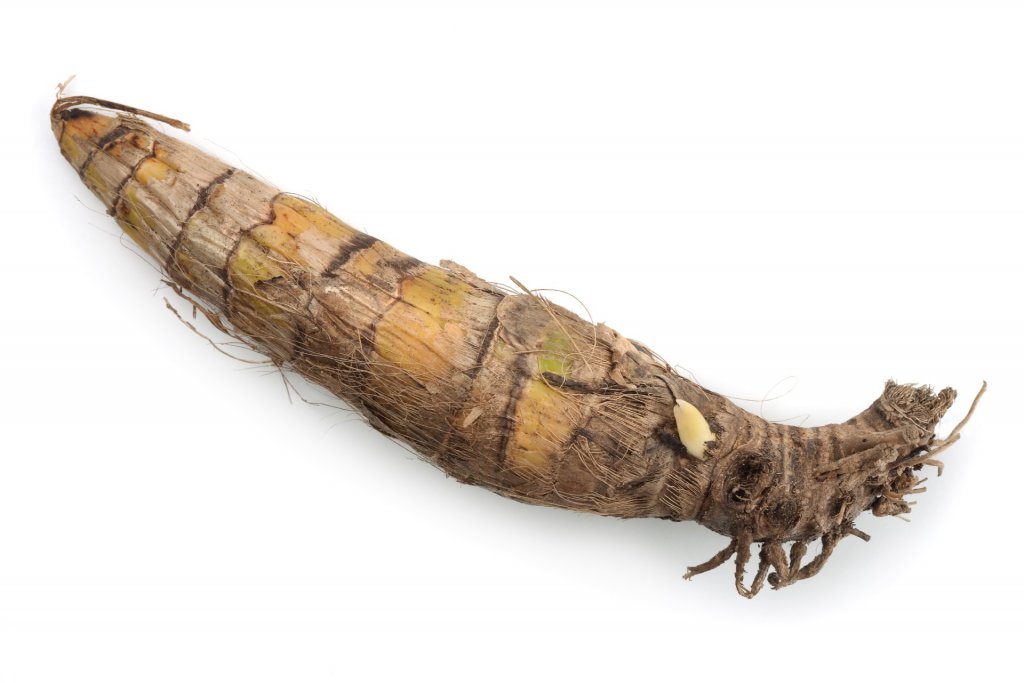
When dividing a sympodial orchid, back bulb propagation is also possible. Back bulbs are pseudobulbs which still serve to store water for the plant but are no longer producing roots or flowers.
You can separate the back bulb from the plant, either by itself or after dividing the plant. If the back bulb has an active eye, plant the eye about the potting medium. Once it’s replanted, the back bulb can be induced into rooting. Some back bulbs may sprout within weeks, whereas others may remain dormant for up to two years.
Back bulb propagation is an excellent way to create young plants from favored orchids, but it’s also one of the slowest propagation methods. New plants will not be mature, but instead will be tiny sprouts, which can take years to grow fully.
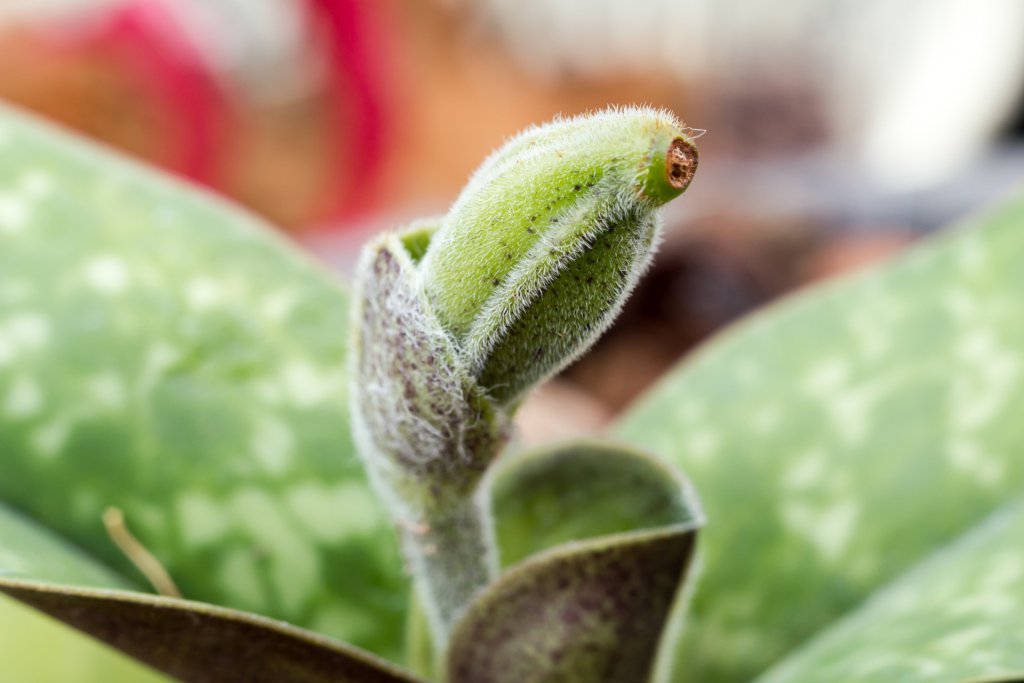
Keikis
Monopodial orchids sometimes sprout offshoots called Keiki. These offshoots develop from nodes on the orchid, usually just above the root structure or off the stem of the main plant.
It’s best to wait for the Keiki to develop leaves and to grow roots of at least an inch long before cutting it carefully away from the main plant. If possible, the Keiki should be left until the leaves and roots are two to three inches long.
Keiki can also be encouraged to grow on an orchid by using Keiki paste. This is a paste that contains cytokinin, which is a hormone that induces plant growth through cell division.
You can purchase Keiki paste from many garden retailers, as well as from Amazon:
If you prefer, you can also make it at home. To make it, mix one milligram of cytokinin, sold as BAP or Benzylaminopurine, with one gram of warmed lanolin. Be sure to wear protective gloves and safety glasses and work in a well-ventilated area, as BAP is an eye and skin irritant.
Once you’ve made or purchased the paste, find a suitable node on the orchid. Nodes feel like a joint in the stem and are generally brown in color. With a clean pair of scissors or a knife, cut off just enough of the node so that it feels even with the rest of the stem.
With a wooden chopstick or a cotton swab, scoop out a small amount of Keiki paste. Again, be sure to wear gloves while doing this. Apply the paste to the open node area.
Keiki paste works within a few weeks. However, sometimes a flower stalk will grow where you applied the Keiki paste instead of a Keiki, so it’s not always a sure bet.
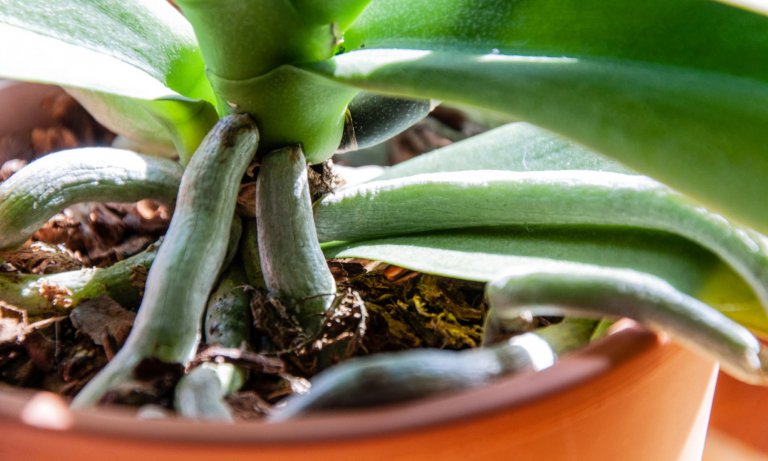
Aerial Roots
Aerial roots are long roots that grow off the main stem of a monopodial orchid.
These roots can be carefully trimmed from the main stem, and then planted in a new pot. The roots will anchor themselves into the soil and, eventually, a new plant will sprout.
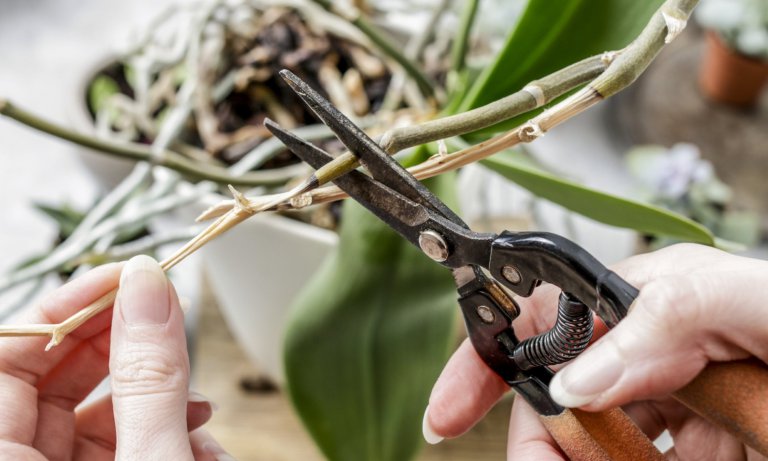
Stem Cuttings
Stem cutting propagation is the final propagation method. This method can be used on any orchid that has new growth areas or nodes. For this reason, it’s best to use this method only on sympodial orchids.
Once the plant has finished flowering, select a stem that’s between 10 and 12 inches long. Cut it off at the base by using clean scissors or a sharp knife. Then divide the stem into sections between two and three inches long. Make sure each section has a new growth area or a node somewhere along its length.
Lay each section in damp sphagnum moss. Keep the moss damp while the stem sections root. Covering the potting tray with plastic wrap can encourage high humidity, which is helpful in orchid growth.
Hi I have never grown orchids before but was given two as a present . They have aerial roots. I like them so much I wondered if I could make new plants from these roots. My plants really need to be potted on to new pots as they are in their second year of flowering now. Thank you for the information on your page it has been very helpful and informative. It is also well laid out and easy to understand.
Hi Vivian, glad you enjoyed the article! Jon