Learning how to prune an orchid is a process not unlike the orchid itself: orchid pruning is subtle, strategic, and sublime when done right.
Knowledgable, careful pruning can make the difference between prize blooms and bare stalks year after year.
It can even encourage your orchid plant to re-bloom!
Why Do Orchids Need Pruning?
Although orchids have some specific care requirements, they need pruning for the same fundamental reasons as all other plants:
- Pruning keeps your orchid healthy. It also gives you a great chance to give your orchid a once-over to spot any unfolding issues while they are still minor and fixable.
- Another big benefit of orchid pruning is to remove diseased or dead matter. This tissue may be harboring pests or fungi, or could simply be stressing the plant out and using up nutrients.
- One of the most exciting benefits of pruning is to get your orchid to rebloom.
What Is an Orchid Spike?
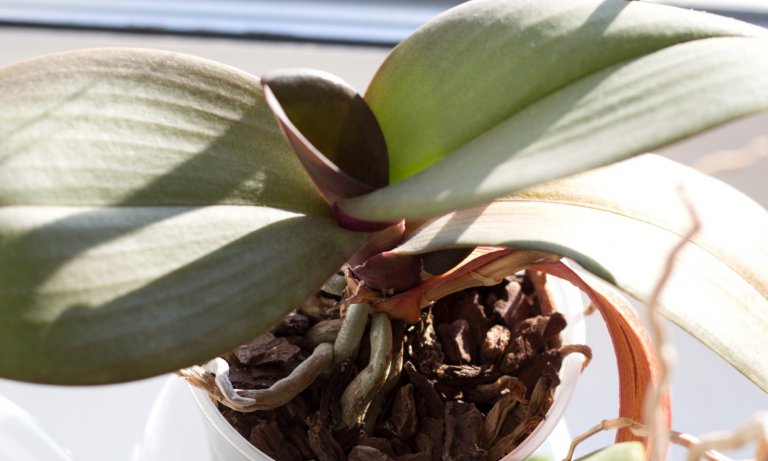
Before you start pruning, it’s helpful to understand what an orchid “spike” is.
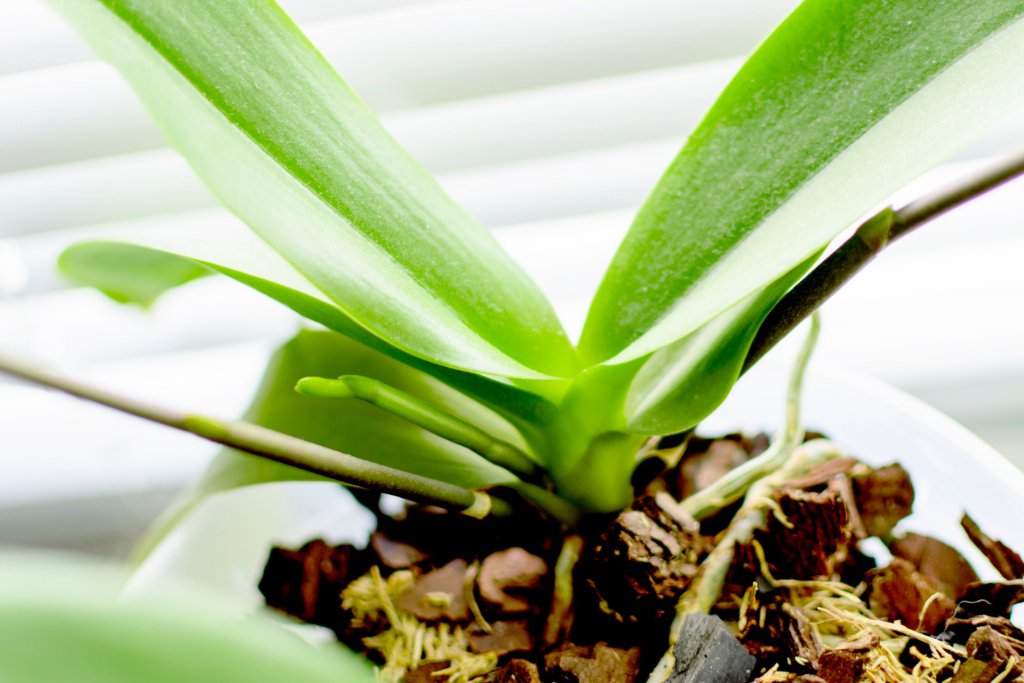
In orchids, the word “spike” denotes the stem that attaches a bloom (flower) to the plant stalk. This small bit of green is much more important than its humble appearance might suggest.
Right beneath the base of the spike (where it’s attached to the stem) is where the nodes are located. These triangle-shaped nodes are the sites of potential new blooms. One of the aims of pruning an orchid is to encourage it to rebloom through these nodes by trimming back the spike.
New orchid growers often get spikes and roots mixed up. They can look quite similar, although the exact appearance varies depending on the orchid species. With a bit of practice, you’ll learn what they look like on your orchid.
How to Prune an Orchid: Step by Step
Before You Start
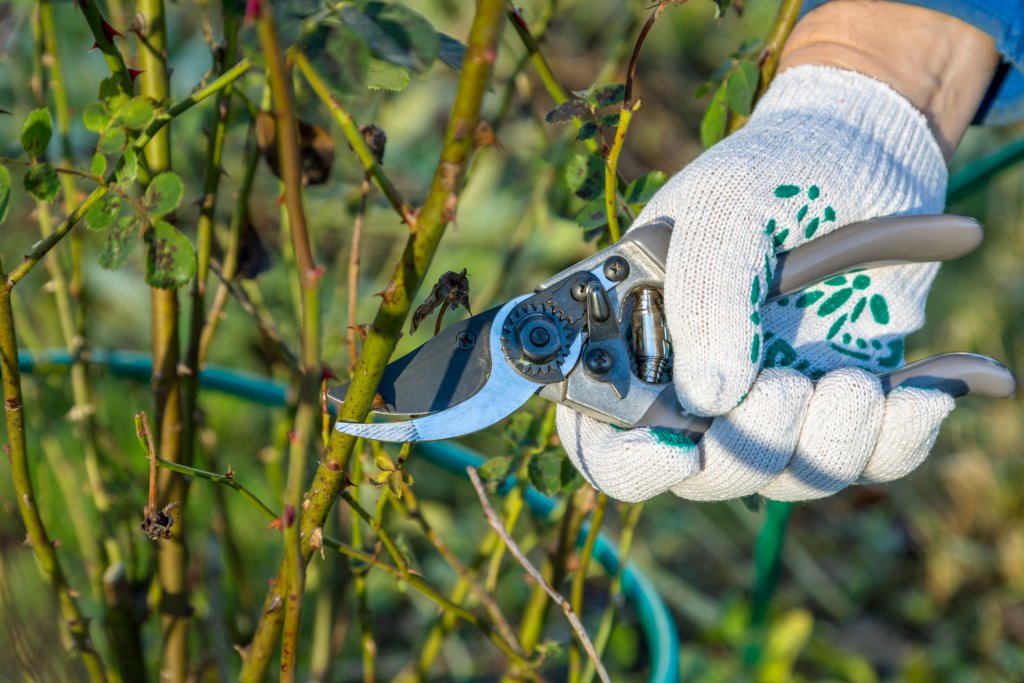
Before you start pruning your orchid, you will need pruning shears (or scissors), a pot, and orchid potting media.
Here are some good pruning shears we recommend. We’re a big fan of Fiskars, who make reliable, high-quality shears that last a long time:
- Fiskars General-Purpose 5/8" Pruning Shears - These are great all-round shears, which you can also use on your other houseplants. If you're struggling to decide, you can't go wrong with these.
- Fiskars Micro-Tip Pruning Shears - Some growers find these easier to use for pruning delicate orchids, as they have finer blades that can cut more precisely.
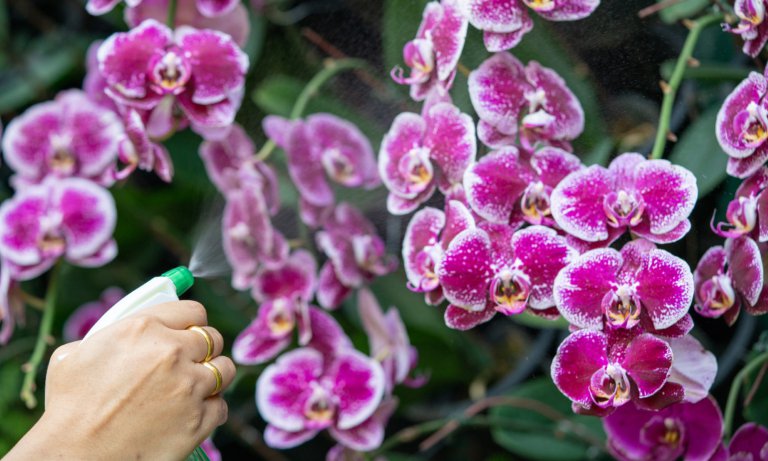
Once you have your shears and pot, you need to sterilize them. We recommend isopropyl alcohol for this, as it’s safer and more effective than vinegar or bleach. It’s important to always spray on some sterilizing treatment at the point of any cuts to protect your orchid from pests and disease.
Step 1: Examine Your Orchid
Examine your entire orchid thoroughly. Identify any particular areas (roots, spikes, leaves) that need pruning. Look for dead, dry, or decaying tissue that needs to be cut away.
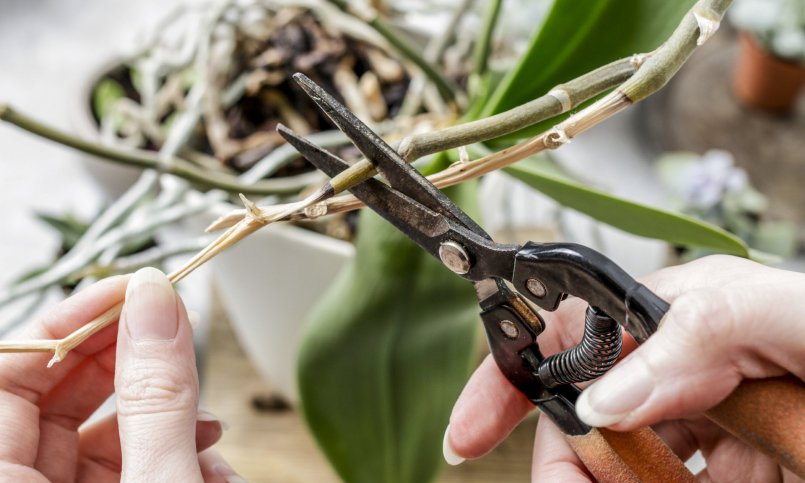
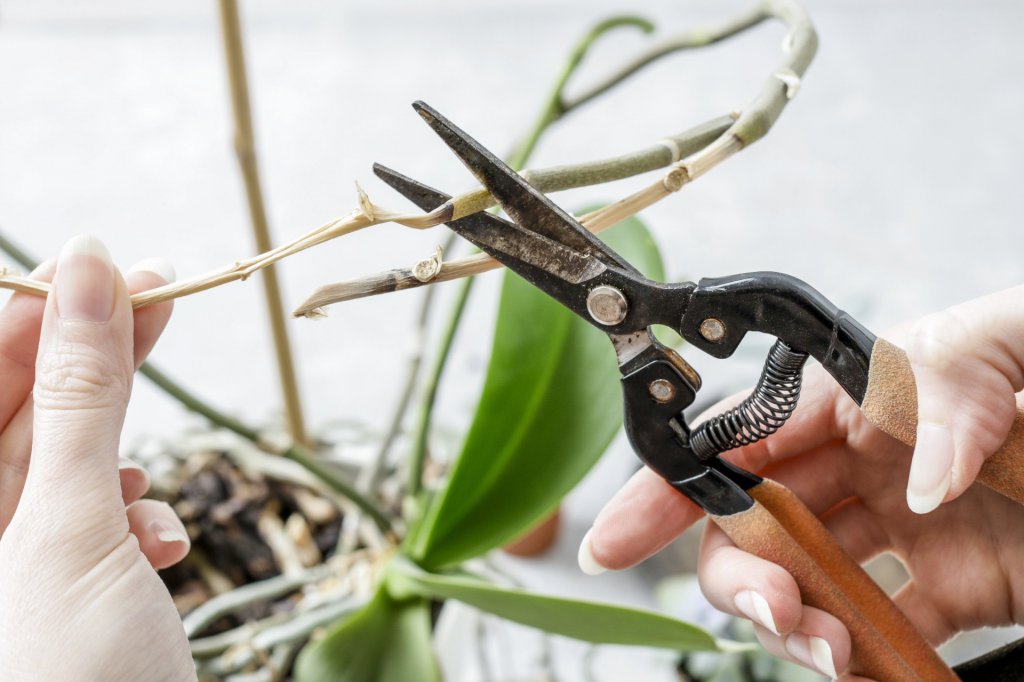
Step 2: Prune Your Spikes
This will depend on the state of your orchid’s spikes:
- If the spike looks green and healthy, wait until the blooms have faded and fallen. Cut back the spike to within one inch of the stalk if you think the orchid will re-bud a second time before the dormant period in fall/winter.
- If the spike is healthy but it is close to the dormant season and you do not think the orchid will re-bud again, trim off the whole stalk to just one inch above the base of the plant itself, being careful to trim above any nodes that are present.
- If the spike is not healthy, trim off the entire spike just above the node (see next section here for more details about how to do this).
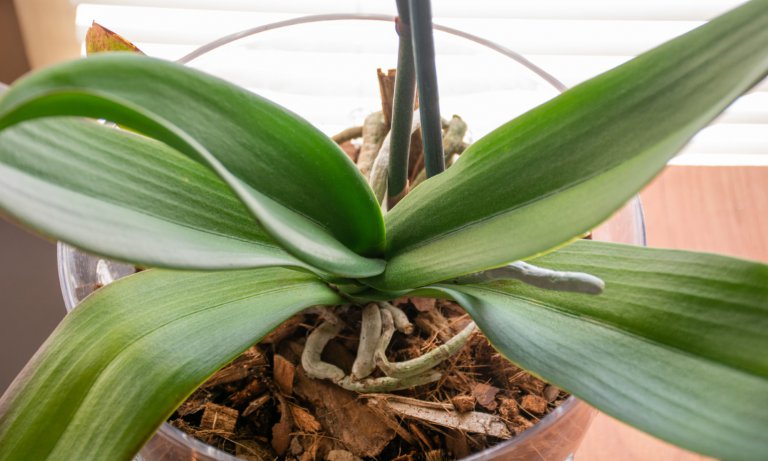
Step 3: Check the Leaves
If your orchid has leaves that are diseased or wilting, you can choose to cut away just the portion of the leaf that is affected or, if the majority of the leaf is affected, trim away the entire leaf just above the base of the plant.
Be careful not to cut away too many leaves, as this can cause unnecessary stress on the plant.
Remember to sterilize the site of any cuts you make, to prevent infection.
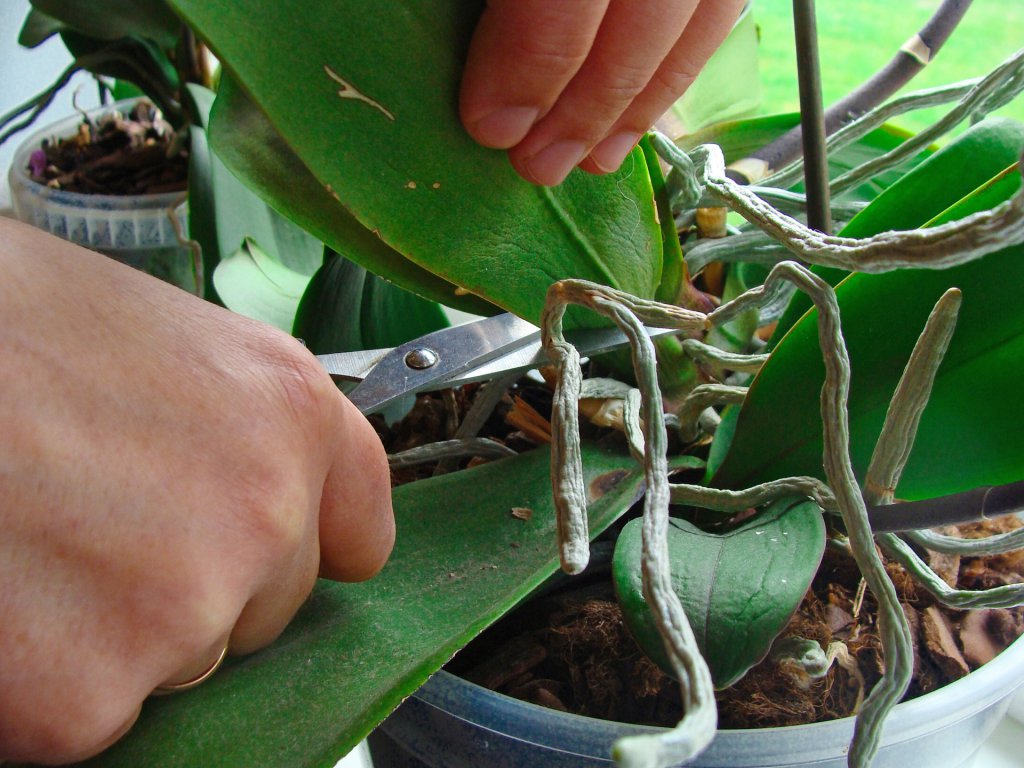
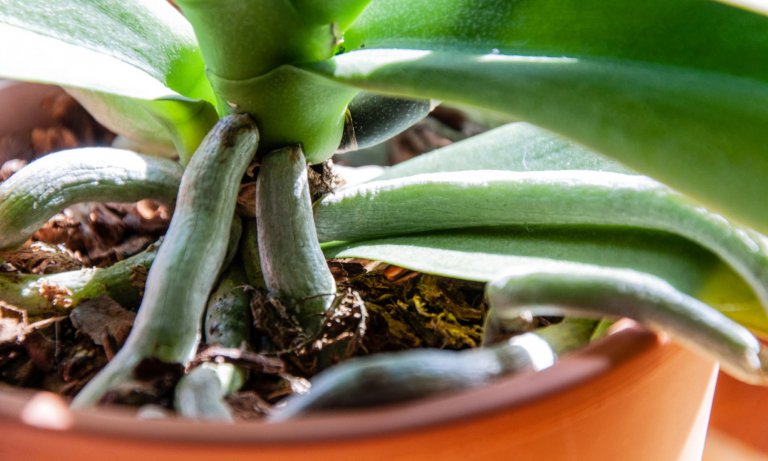
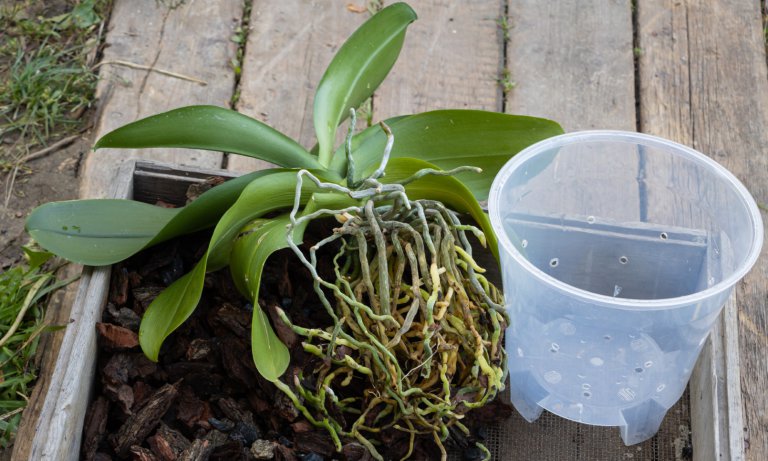
Step 4: Trim the Roots
Only prune an orchid’s roots when you are getting ready to repot the plant.
Typically, repotting is done no more than once a year, after the orchid has re-bloomed for the final time before the dormant period.
Trim away any dead or rotted roots before repotting in the sterilized potting media. Refrain from watering your orchid for at least a couple of days to allow the cuts to heal. You can increase ambient air humidity in the meantime if your orchid is dry.
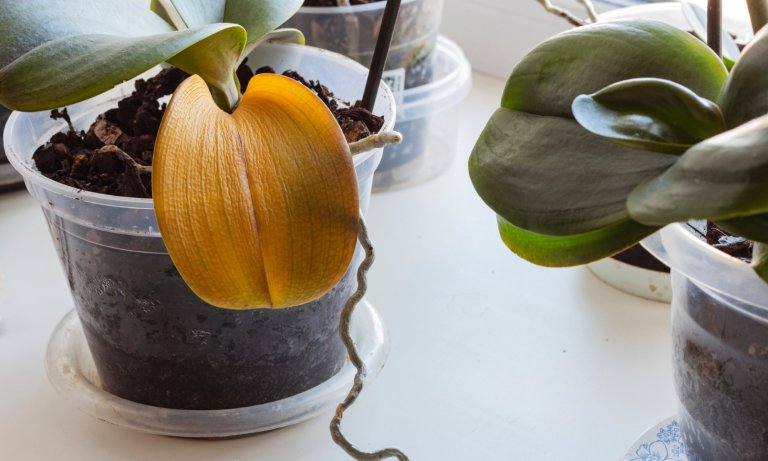
What to Do With Brown, Yellow or Dead Stems
As long as the stems on your orchid remain vibrant, plump, and green, it is fine to leave them alone. Healthy orchids often re-bud from these stems.
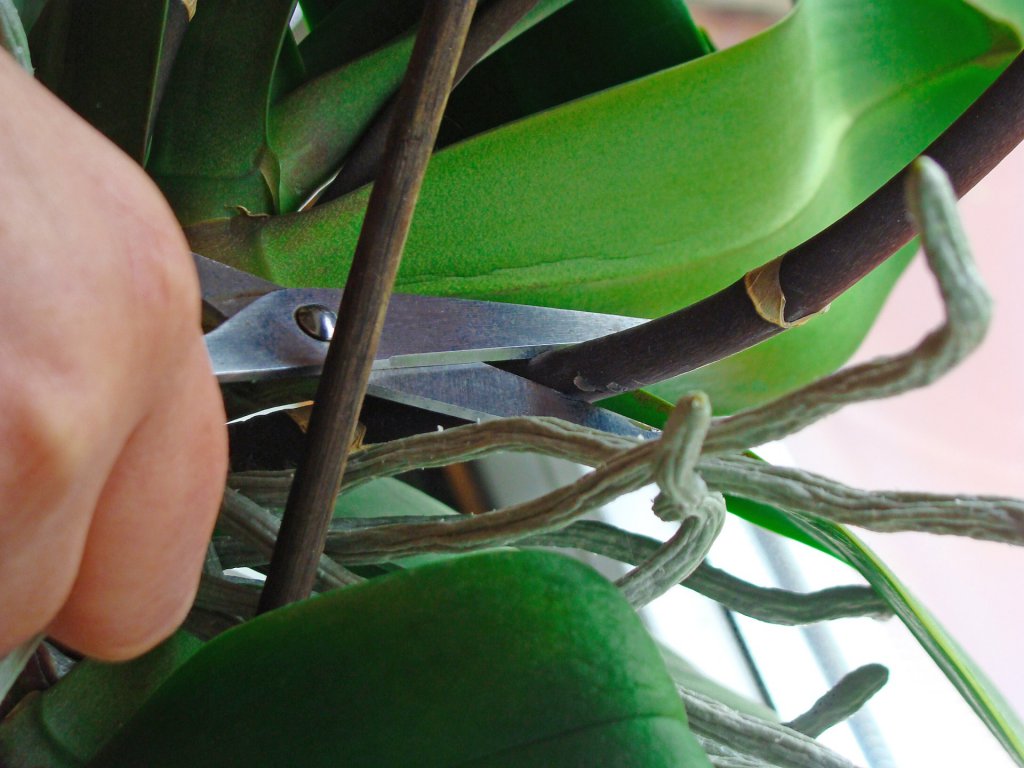
But if you see that the stems are beginning to turn yellow or brown or to wither up and die off, it is time to prune them to reduce stress on the plant. Plus, compromised orchid spikes typically will not re-bud, so they need to be removed for the overall health of the plant.
Always use sterile scissors for pruning and apply some sterilizing solution to the pruning site to protect your orchid from pests and microbes.
Frequently Asked Questions
When Should I Prune My Orchid?
The best time to prune an orchid is after the blooms have faded and dropped. This will ensure that you don’t damage your plant.
How Often Does My Orchid Need Pruning?
In general, orchids do not need to be pruned frequently. Most orchids bloom once per year, although some species bloom more frequently than this.
Typically, you will only need to prune as often as your orchid blooms.
How Many Spikes Does My Orchid Have?
When you hear the terms “single spike” and “double spike,” this refers to the budding and blooming pattern of the orchid. The number of spikes and quantity of blooms can vary from year to year.
For example, the popular and readily available Phalaenopsis orchid usually blooms from a single spike. But some Phalaenopsis will produce double spikes. Genetics and care can both impact the number of spikes and variance in the bloom patterns.
HI, When I cut the stem above the node should I put cinnamon on the cut stem? Thank you, Mary
Hi Mary – yes, if you want you can sprinkle a bit of cinnamon on the cut area as a natural fungicide
Love your advices