Orchids can usually live in the same pot for at least a year or two without any problems. But sooner or later, your orchid will outgrow its pot, or its potting mix will start to break down. That’s when you’ll need to repot it.
Many people find themselves overwhelmed by the idea of repotting their plant, as they are afraid of damaging it. However, once you understand the basics of how repotting is done, the process can be straightforward.
This is our simple step-by-step guide to help you perfect this technique.
How to Tell When Your Orchid Needs Repotting
Before we get started, it’s important to determine whether your orchid actually needs to be repotted.
It takes time and energy for a plant to adjust to any new environment, so you should repot as infrequently as possible, to avoid causing your plant unnecessary stress.
A common rule of thumb is to repot an orchid once every two years. However, this will depend on several different factors. The two main reasons why you’ll need to repot are:
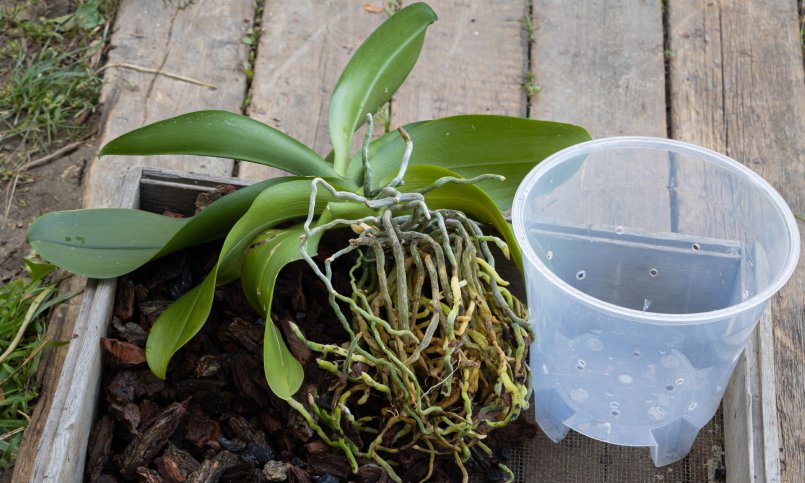
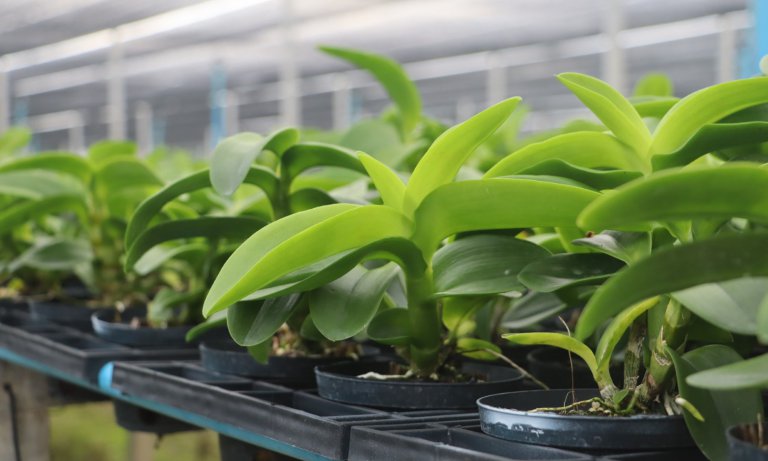
- First and foremost, your orchid is (hopefully) a thriving and growing plant. This means that every few years, you may need to provide your plant with more space to grow into. If your orchid’s roots are densely packed and tangled together, it may be time to repot.
- The other primary reason will be that your potting mix is starting to break down.
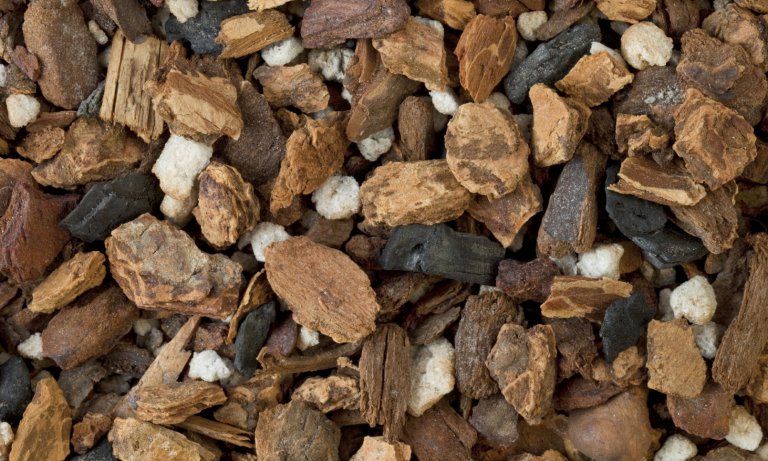
Orchids generally prefer looser potting materials such as bark and moss. These materials allow air and water to move around freely. However, these organic substances eventually break down and decompose.
This will cause it to clump together around the roots, causing poor drainage and airflow. This can eventually cause infections and root rot.
Avoid Repotting During the Blooming Season
Even if your orchid looks like it really needs repotting, you should avoid trying to repot it during blooming.
Repotting during the blooming season can result in your orchid losing its flowers, and can really stress it out. This can cause irreparable damage to your plant!
For best results, make sure that the blooming season has completely finished before you try to repot.
How to Repot an Orchid
Once you’ve decided it’s time to repot your orchid, follow these simple steps to ensure your plant is repotted safely:
Step 1: Choose a New Pot
In general, you’ll need to find a pot that’s approximately 1 to 2 inches wider in diameter than the previous one. That way, you can be sure that they have enough space without the pot being excessively large.
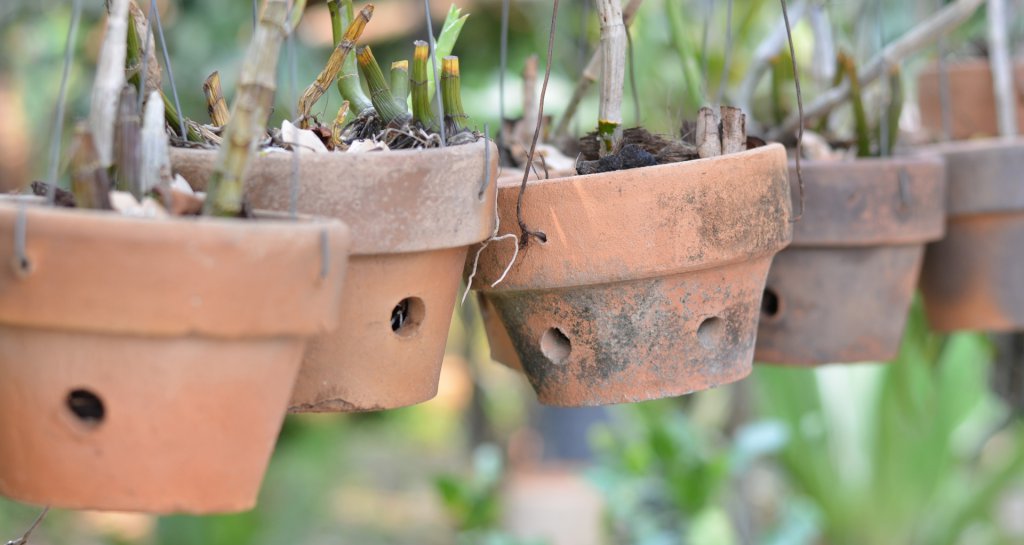
Make sure the pot drains well and allows good airflow. Choose one that’s specifically for orchids. You can find a good selection of these online or at your local garden store.
Sterilize the pot by soaking it in boiling water for a few minutes. Orchids are very sensitive to bacteria and toxins, so it’s important to sterilize all the equipment you use during the repotting process.
Related: Best Orchid Pots: Beginner’s Buying Guide
Step 2: Prepare Your Potting Mix
Measure out enough fresh potting mix to fill your chosen pot. Most orchids require a loose mix of bark and sphagnum moss, though this can vary depending on the type of orchid.
Soak your potting mix in boiling water, then drain it well and spread it out to cool down. This will sterilize the mix and make it damp enough to give your orchid a head start after repotting.
Related: Orchid Potting Mix: Care Guide & Information
Step 3: Remove the Old Spikes
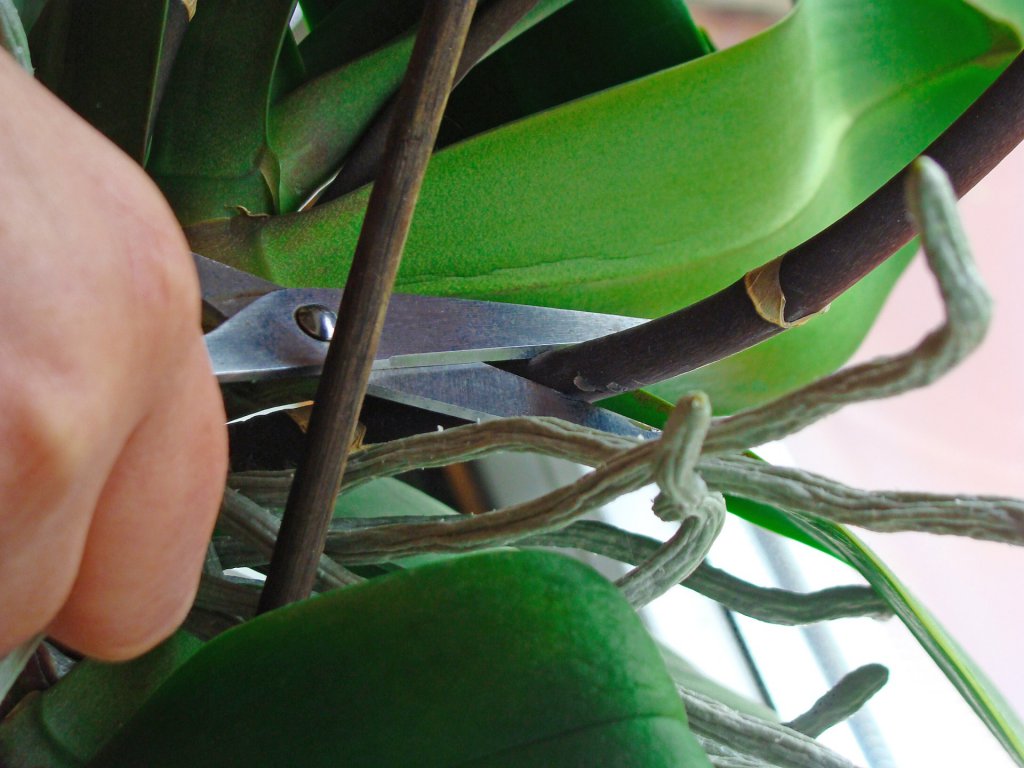
Your orchid’s blooming season should be over by now, so this is a good time to do a little cleanup. Removing any old flowering spikes will allow the plant to use its resources more effectively.
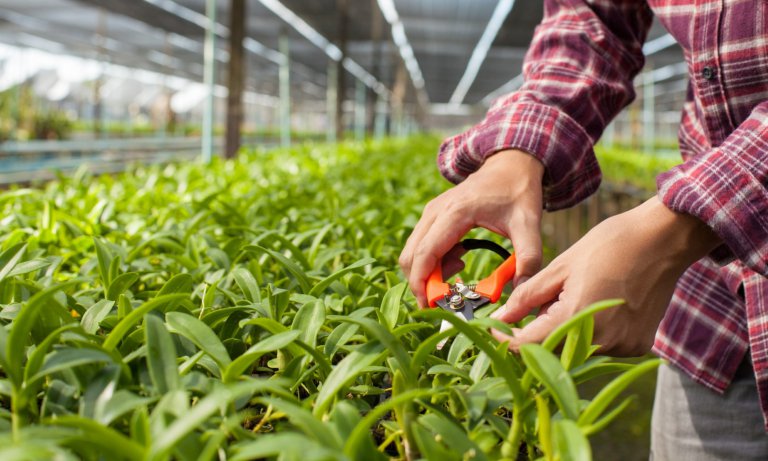
To trim these spikes, first, clean your pruning shears with hot water and soap. After this, you’ll also want to sterilize them with alcohol or a hot flame to ensure that nothing on the blade can harm your plant.
Once your tools are prepared, you can start trimming. Cut any woody, brown spikes near the base and dispose of them.
Related: How To Prune An Orchid: Step By Step Guide
Step 4: Remove the Orchid From Its Pot
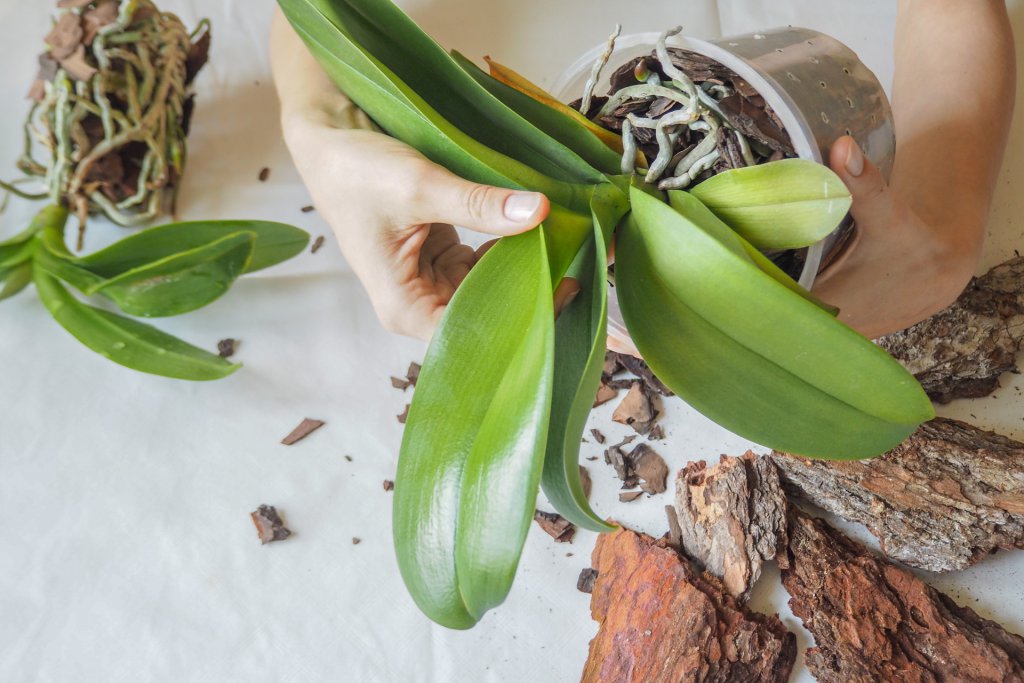
After you’ve prepared your new pot and medium, you’ll need to remove your orchid from the pot that it’s currently in. Put on a pair of plastic or rubber gloves and gently, but firmly, grasp the orchid around its base. Now you will need to carefully pull the orchid and slightly move it around to loosen it from the pot.
Unfortunately, this can sometimes prove to be quite a challenge. To make sure you don’t damage any of the roots, sometimes your best bet will be to break the old pot so that you can protect the orchid itself.
Step 5: Remove Old Potting Mix and Dead Organic Matter
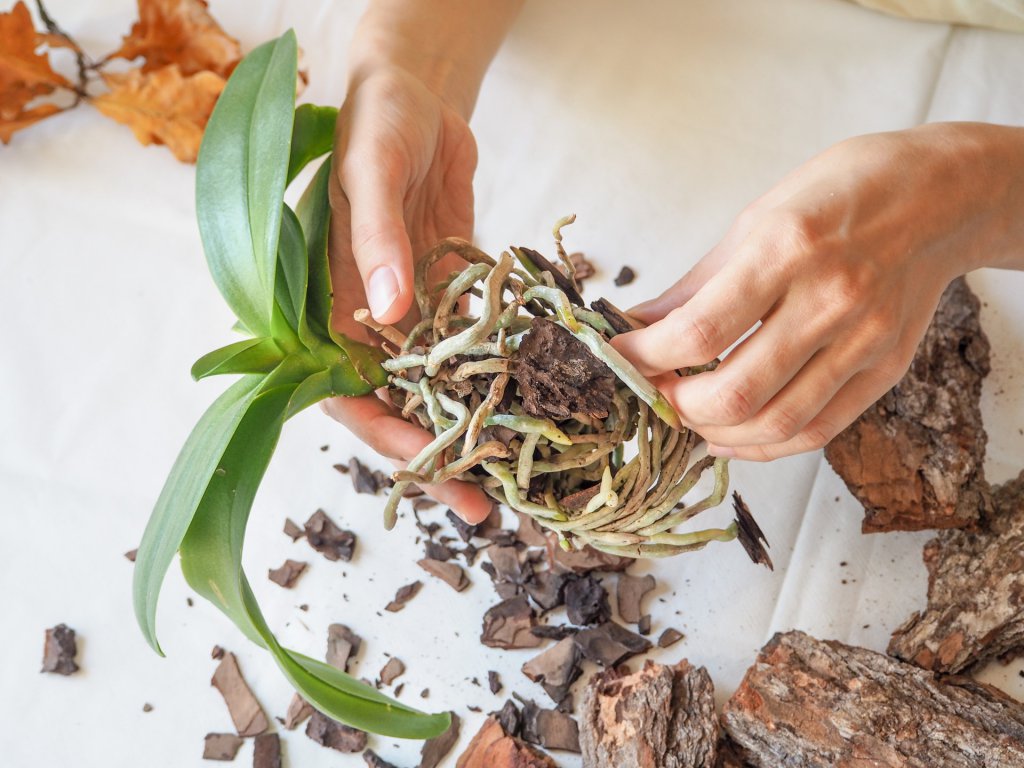
Once the plant is out of the pot, you will need to remove all the old potting mix from the roots and base of the plant. Be careful that you don’t harm any of the healthy roots in the process. Take your time and wipe away all the old material without pulling or tugging on the roots.
Now is a good opportunity to see if your plant has any dead or dying roots. Removing them is good for the health of your orchid, as they won’t be able to affect its growth as it settles into its new pot.
Cut off any brown and dried roots that are clearly dead. You can also trim away any roots that look mushy or rotten.
Just be careful not to be over-zealous when doing this. If in doubt about a root, leave it. For more guidance on trimming these roots, check out our pruning guide:
Related: How To Prune An Orchid: Step By Step Guide
Step 6: Place Your Orchid in Its New Pot and Water It
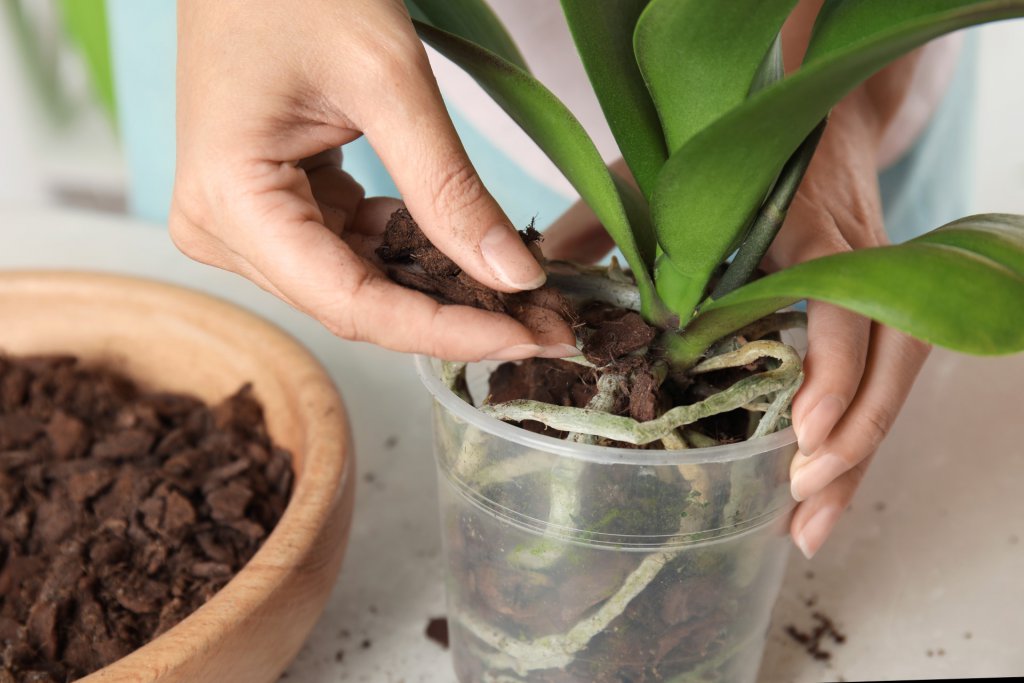
Now it’s time for you to place your orchid in the new pot. Carefully lift it by its base and gently lower it into the potting material. Tuck some extra potting mix into any gaps in the roots, but don’t pack it too tightly.
If you’re using moss, you may want to wrap some around your orchid’s roots before you place it into the pot. This just makes it a bit easier to evenly distribute the potting medium around all the roots.
After it’s safely put away, you’ll want to make sure you water it sufficiently.
You’ll want to make sure your fresh potting medium receives enough water to saturate it. This may not be necessary if it’s still quite damp from soaking it in the boiling water. Make sure to drain any excess water after watering, to prevent root rot.
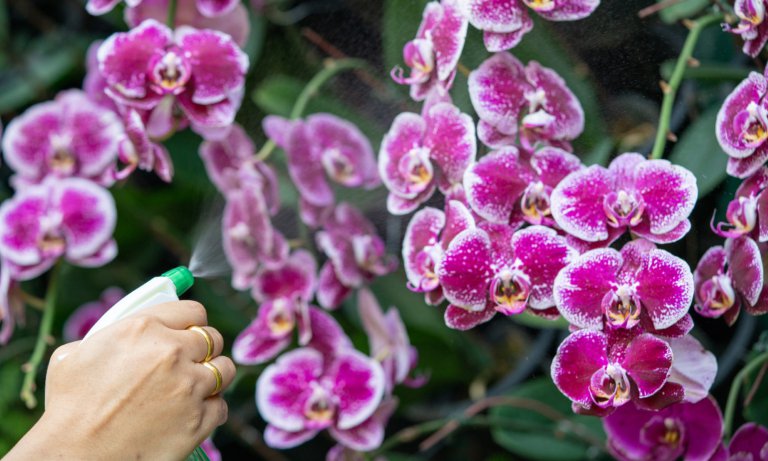
You can also gently mist your orchid for the next few days to help it along.
Related: How to Water an Orchid: Care Guide & Pictures
Congratulations, you’ve successfully repotted your orchid!
Repotting Video
If you’d like to see all this in action, check out this great video from the New York Botanical Garden:
Frequently Asked Questions
What Kind of Potting Medium Do Orchids Need?
Orchids are especially picky plants. They generally enjoy having their roots out in the open and wrapping around their surrounding area. This means that you don’t want to put your orchid in something dense like standard potting soil.
Instead, orchids prefer potting mediums such as bark, peat moss, or a specially designed orchid potting mix. These materials provide the orchid with some stability while still allowing for the free flow of air and water.
Check out our guide to potting mixes if you want to learn more about the different types.
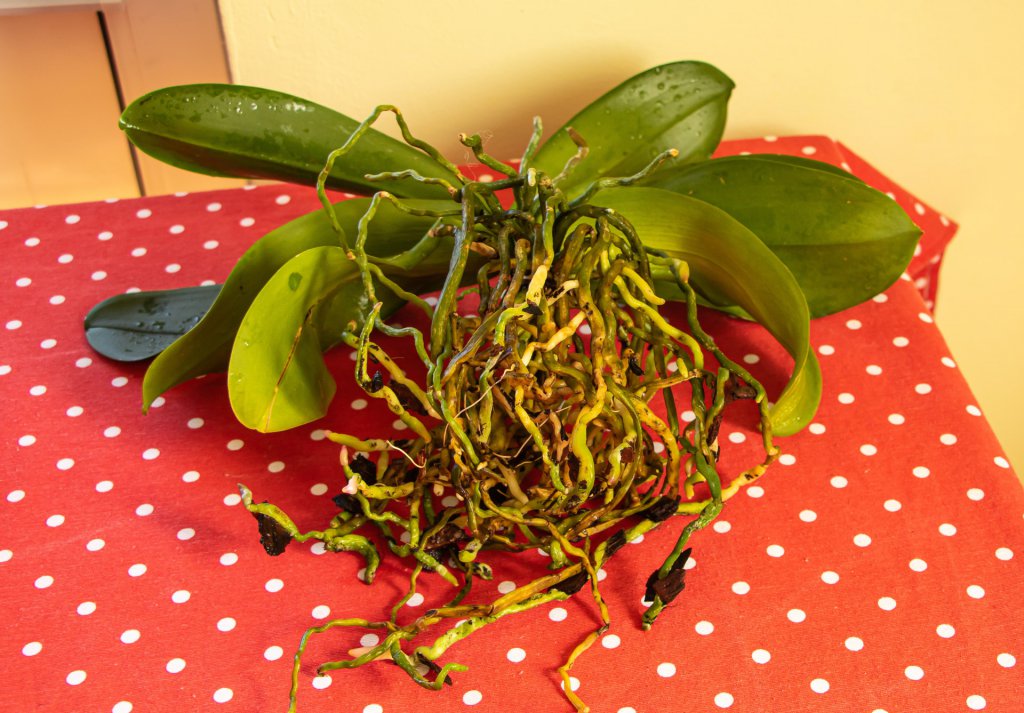
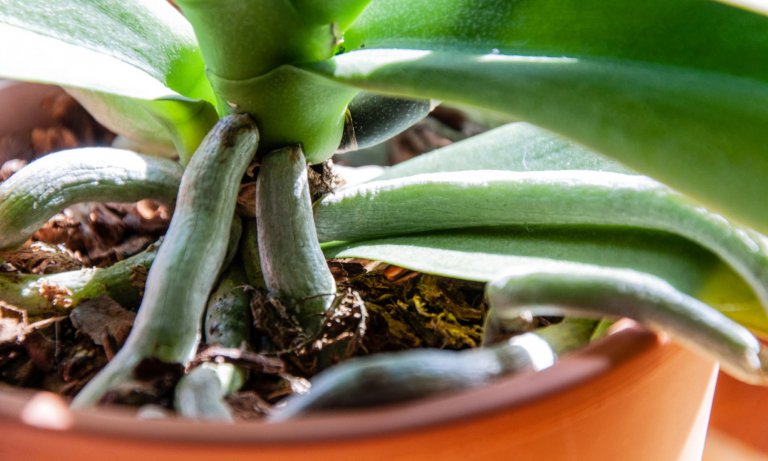
How Do I Repot an Orchid With Aerial Roots?
Aerial roots are important to the health of your orchid. They encourage photosynthesis and absorb a lot of water and oxygen for the plant to live off of.
However, having a sprawling mass of aerial roots is often a sign that your orchid needs repotting. There are no specific steps that you need to take that are different from repotting an orchid without these roots.
Just make sure you don’t trim off healthy roots by mistake or move them around too much when you are removing the plant from the pot. Also, once you place your plant in the new pot, you can put some of these roots back under the potting medium. Burying them can help them to grow in the proper direction again, but don’t force them.
We hope you found this guide useful. If you have any tips or tricks when repotting, leave us a comment below!
just wanted to say what a very useful website this is. thank you
Thank you for this information. I found it very helpful.