Orchid roots look different from the roots of any other species in the greater plant kingdom. However, they serve the same basic purpose as any plant’s roots do.
Learning to care for your orchid’s root system is essential to maintaining the health and vitality of your precious orchids.
3 Main Jobs of Orchid Roots
Regardless of the orchid species, the root system has the same three essential jobs.
1. Absorb nutrients and hydration.
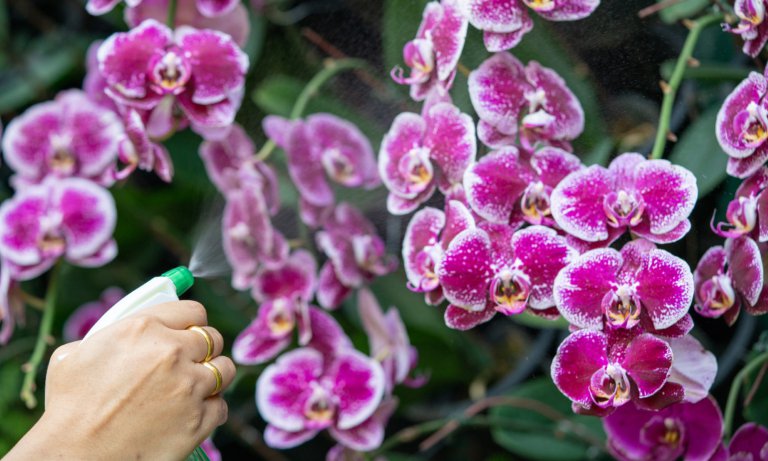
Job number one is to absorb nutrients and minerals as well as water to feed and hydrate the plant. However, the way an orchid’s roots do this is somewhat different from what you are probably used to – they absorb these nutrients from the air.
2. Keep the plant safe and steady.
Job number two is to secure the plant in place. Although here again, when the roots of an orchid start growing every which way, it is easy to get confused!
3. Storing away extra nutrients.
Job number three is to become a food storage cellar, packing away extra nutrients to last during lean times.
Types of Orchid Roots
Orchids have two basic types of roots: fine and thick. It is crucial to identify which kind of roots your orchid plants have because this will help you match the right potting media to the root type.
Thin-rooted orchids
If you have ever grown your own sprouts (or bought packaged sprouts at the grocer), then you have an idea of what thin orchid roots look like. They are spidery and delicate.
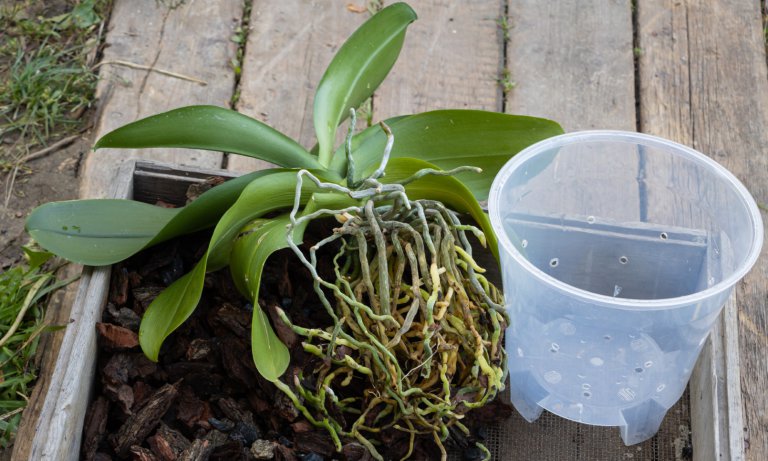
Thick-rooted orchids
Thick-rooted orchids look more like young string beans or even octopus tentacles on older, more established orchid plants. These roots are more plump and robust and do not become so easily damaged from handling.
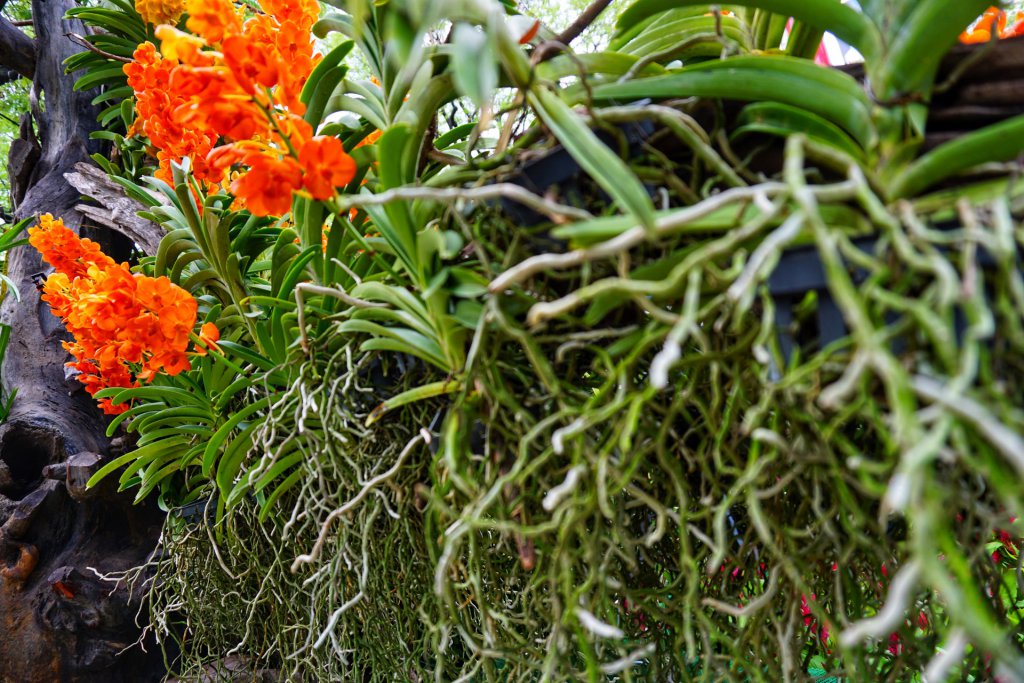
What Are Aerial Orchid Roots?
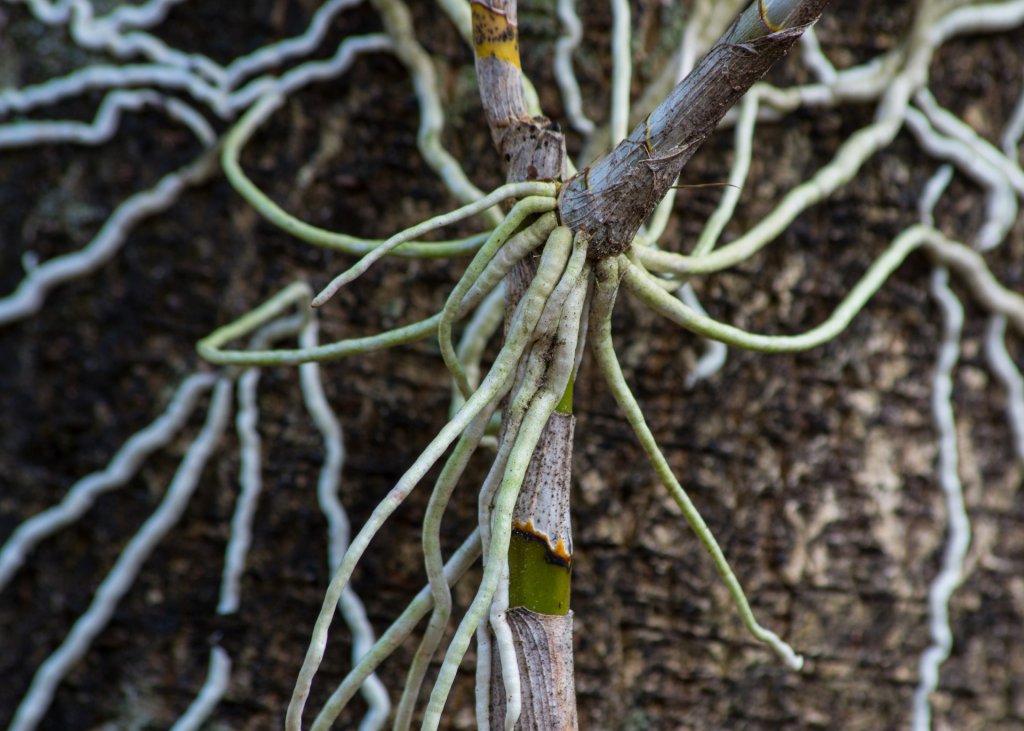
Aerial (“air”) roots are sometimes called orchid tendrils. Not all orchid plants have air roots, and those that do are frequently misunderstood.
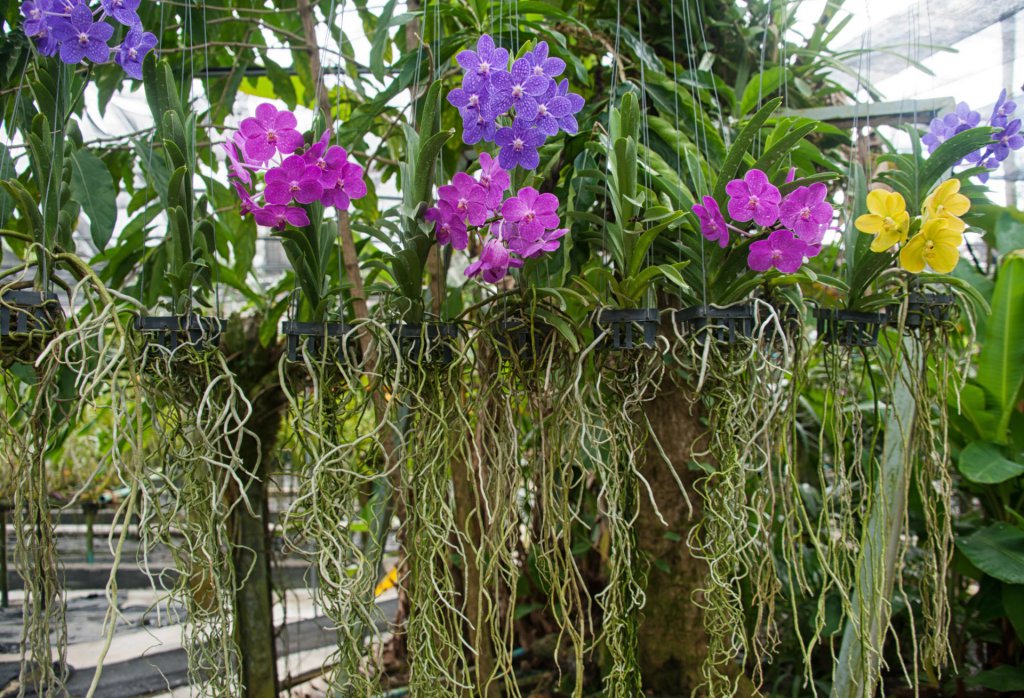
Air roots get their name because of how they grow. While most plant roots grow straight down into the soil or potting media and remain mainly below ground and unseen, orchid roots often grow straight up into the air!
These air-loving roots do often look like they don’t belong to the orchid. Many newcomers to orchid care have mistaken orchid roots for weeds or shoots and have snipped them off to the plant’s ultimate demise.
While air roots look different, their function is the same as for any other plant roots, and they should be left in place and carefully protected.
What Are Adventitious Orchid Roots (Keikis)?
The word “adventitious” is a modern-day adaptation of the Latin root word “adventicious,” which means “not belonging to.”
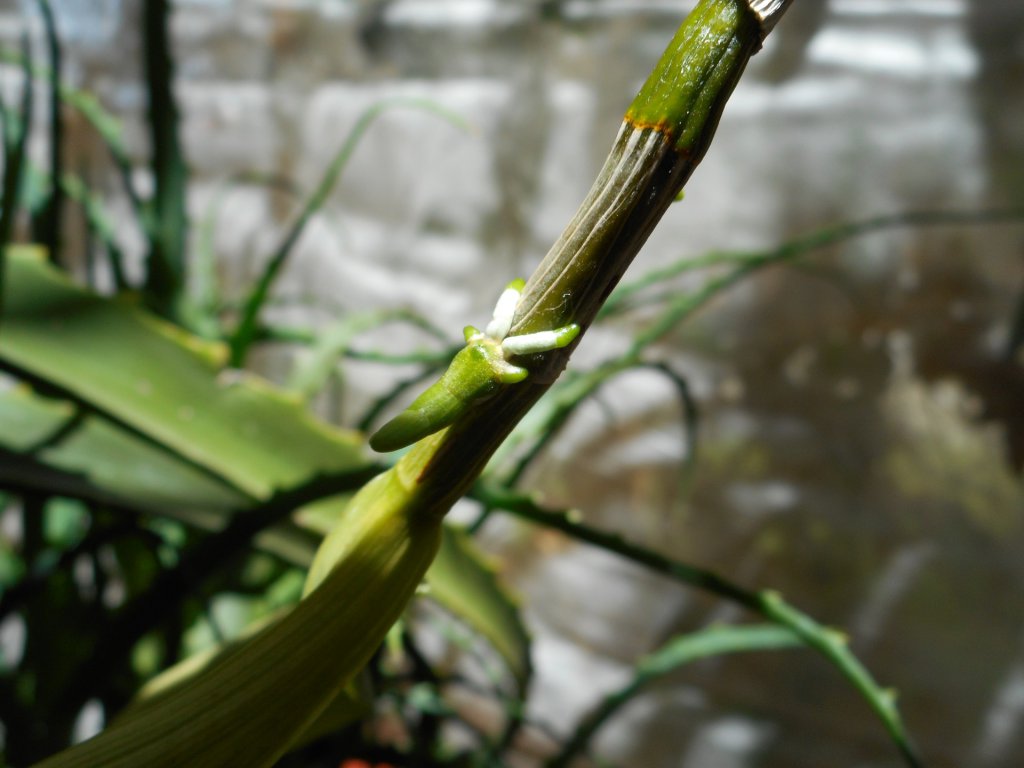
Adventitious roots aren’t really roots at all. Rather, they are actually used as a method of orchid self-propagation by creating keikis, small new orchid plants. The Hawaiian word “Keiki” means “baby.”
Keiki “roots” can be gently removed and repotted in appropriate orchid media or affixed to a suitable host rock or wood material.
Which Orchids Have Aerial Roots?
Not all orchid plants will develop aerial roots. To understand why some orchids grow aerial roots while others do not, it helps to learn about how orchids grow in the wild.
There are three main ways that orchids grow: in the ground, on trees, and on rocks.
Terrestrial orchids
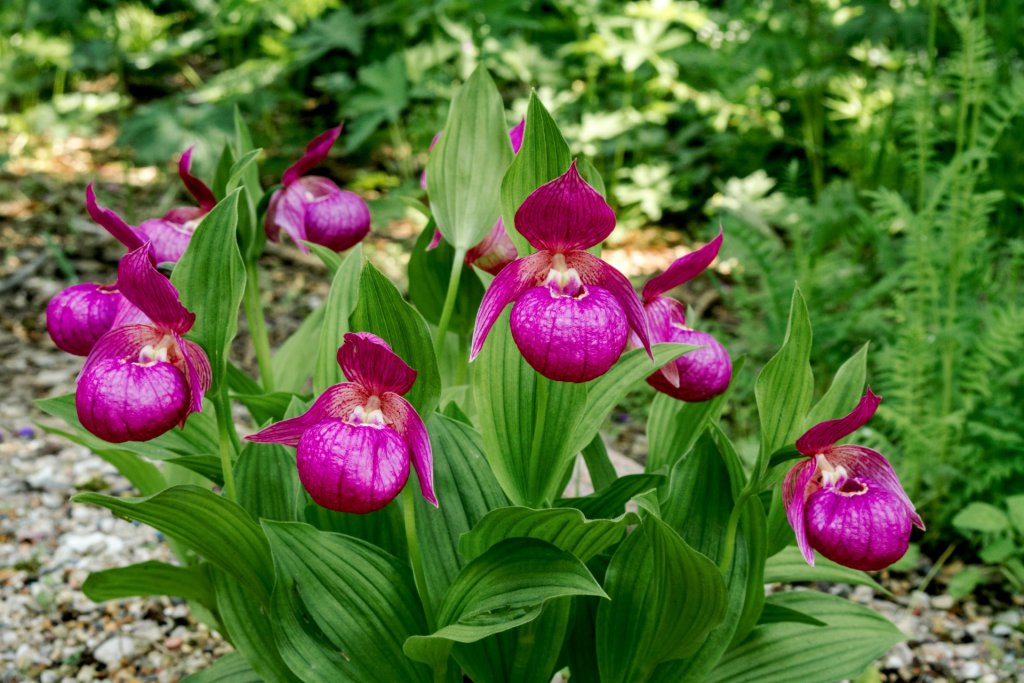
Ground-growing orchids are called terrestrial orchids. These orchids are the least likely to develop aerial roots.
Terrestrial orchid roots are typically submerged into the potting media or the forest floor just like “normal” plant roots.
A few of the most famous and popular terrestrial orchid species are Cymbidium, Cypripedium (lady slipper), Calanthe and Dactylorhiza (marsh).
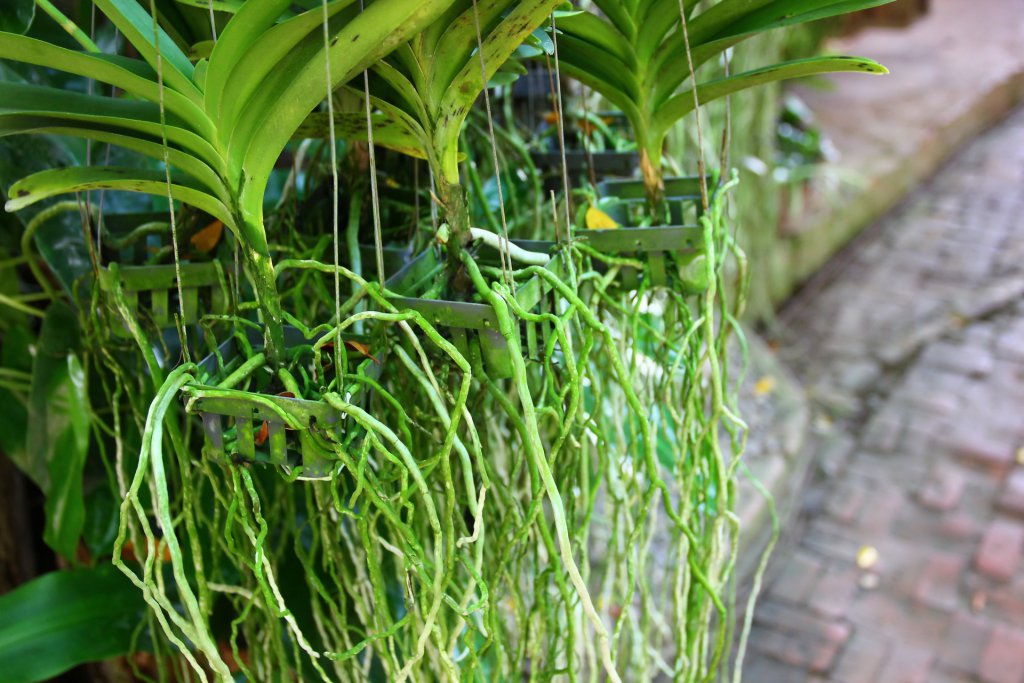
Tree-growing orchids
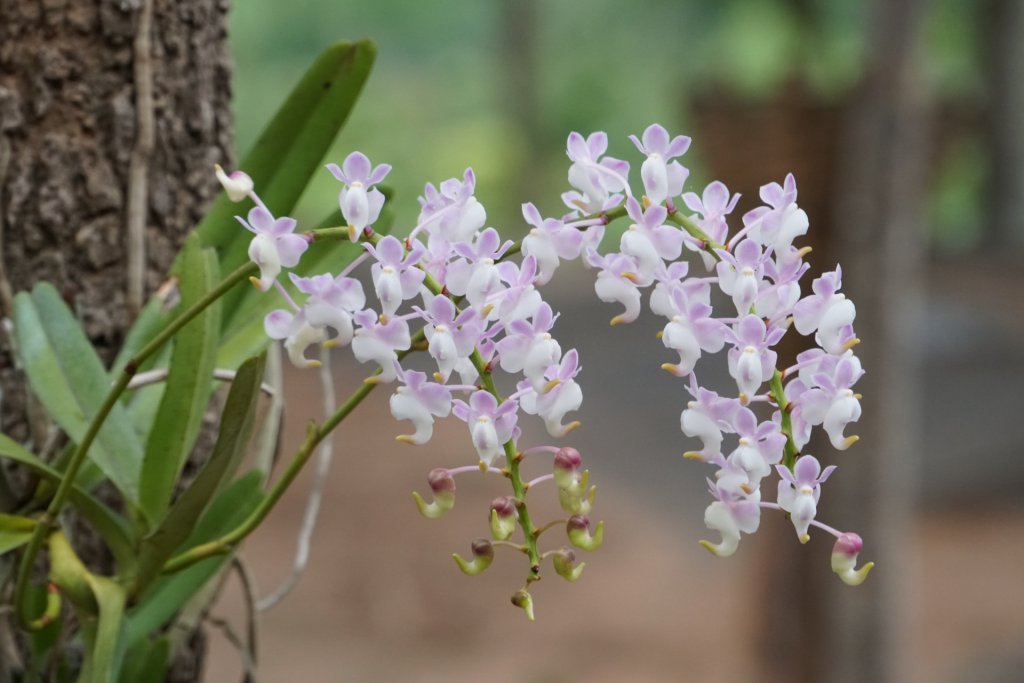
Tree-growing orchids are called epiphytic orchids. This means they grow on some type of mount. Their roots remain exposed to air and moisture throughout the plant’s life.
In a wild setting, many epiphytic orchid species favor tree trunks or limbs. In a greenhouse setting, popular mounting media include corkboard, tree limbs, driftwood, hardwood, and other organic matter.
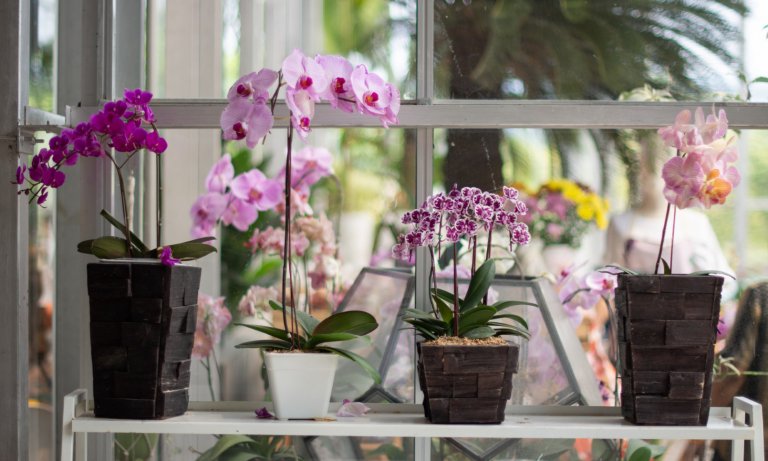
The wildly popular Phalaenopsis is the most common and famous of the tree-growing orchids. Dendrobium and Cattleya are also typical examples of tree-growing orchids.
Rock-growing orchids

Rock-growing orchids are called lithophytic orchids. These orchids are typically tropical species that grow in the wild on suitably exposed rocks.
These orchids grow roots that twine around their rock hosts for stability and often burrow into cracks or crevices in and around the rock itself.
Three well-known species of rock-growing orchids include Dendrobium, Bifrenaria, and Maxillaria.
How to Know If Your Orchid Roots Are Healthy
Learning to identify healthy versus unhealthy plant roots should always start with a little basic “orchid root anatomy” lesson.
Once you understand the layers of an orchid’s roots and how they work, you will have a much better understanding of why and how they can become compromised.
The outermost layer of an orchid’s roots is comprised of velamen. Velamen is a highly specialized porous root covering that takes in moisture and nutrients.
Once inside, these nutrients filter down to the vascular tissue, which is the orchid’s version of blood vessels. The vascular tissue routs the moisture and nutrients up from the roots to the plant itself.
Healthy orchid plant roots may vary in length, width, and number per plant, but they all share certain key characteristics:
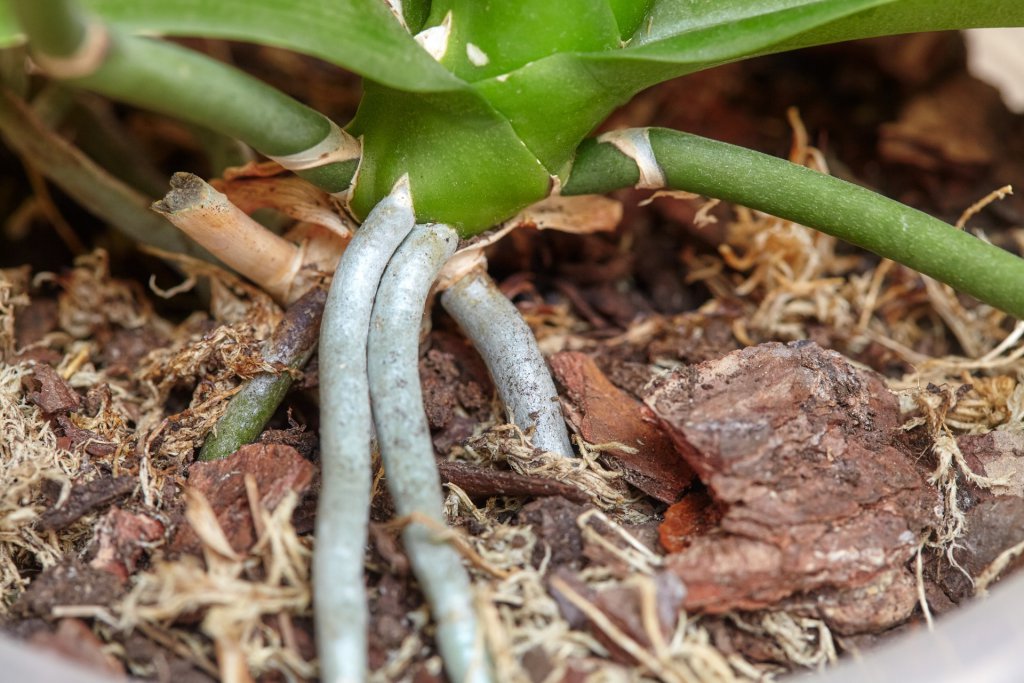
- They will be green (or occasionally red) at the tips. Longer tips indicate actively growing roots.
- The covering (velamen) will usually be white or silvery and feel spongy. This portion starts from the base of the root and extends outward to meet the green or red tip.
- They may grow up, down, sideways or a combination – the key is that the root is round, plump and white/silver with green/reddish tips.
How to Spot Unhealthy Orchid Roots
Spotting unhealthy roots is easier with epiphytic and lithophytic orchid species since the roots are easily visible!

If you want to grow terrestrial orchids, it is important to check each new orchid plant’s root system during the initial repotting after you bring it home.
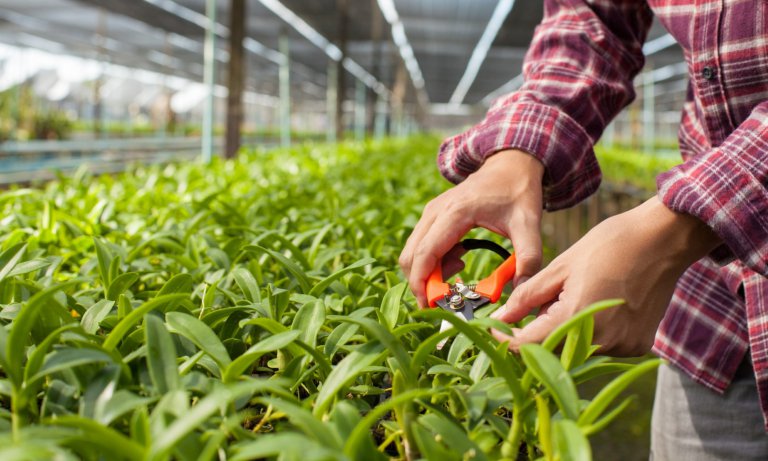
During your annual repotting (if needed) is another good time to give the root system a good once-over and trim away any roots that have failed to thrive.
Here are some common signs of unhealthy orchid roots:
Roots are all white or silver
Roots that lose their green/red tip and turn completely white are signaling that the root has stopped growing altogether.
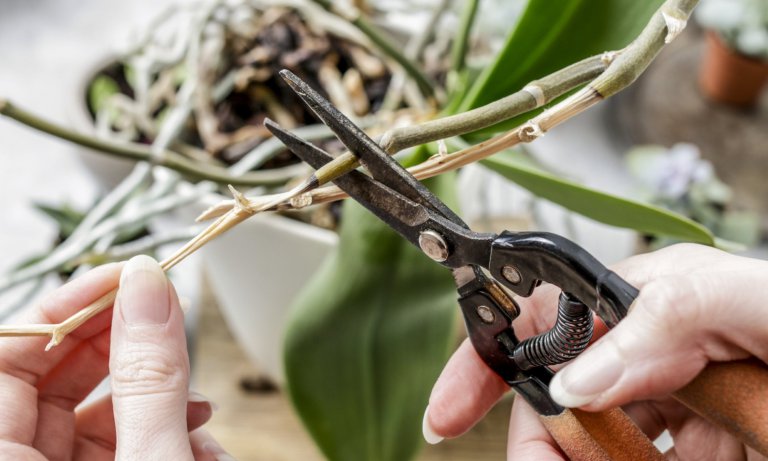
You can gently remove these roots with a sterilized cutting knife or scissors.
Roots are brown and mushy
When an orchid’s roots are brown and mushy to the touch, this is most likely because of mold or root rot. The most common reason is overwatering.
While root rot is never a good sign, there are some things you can do to attempt to salvage the plant.
It is crucial to remove the infected, rotting roots and any areas of the leaves or plant itself that have been infested with root rot. Always sterilize your knife or cutting shears before doing this.
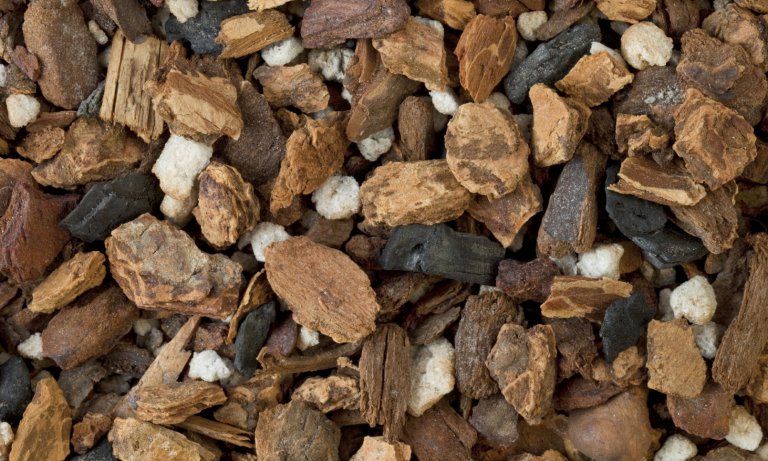
Then sterilize a new pot and add fresh potting media before replanting the orchid. Sphagnum moss retains moisture well and is an excellent choice for a stressed-out orchid plant.
Dry, flat, shriveled orchid roots
When the roots are flat, dry, shriveled looking, this often means the orchid has not received enough moisture.
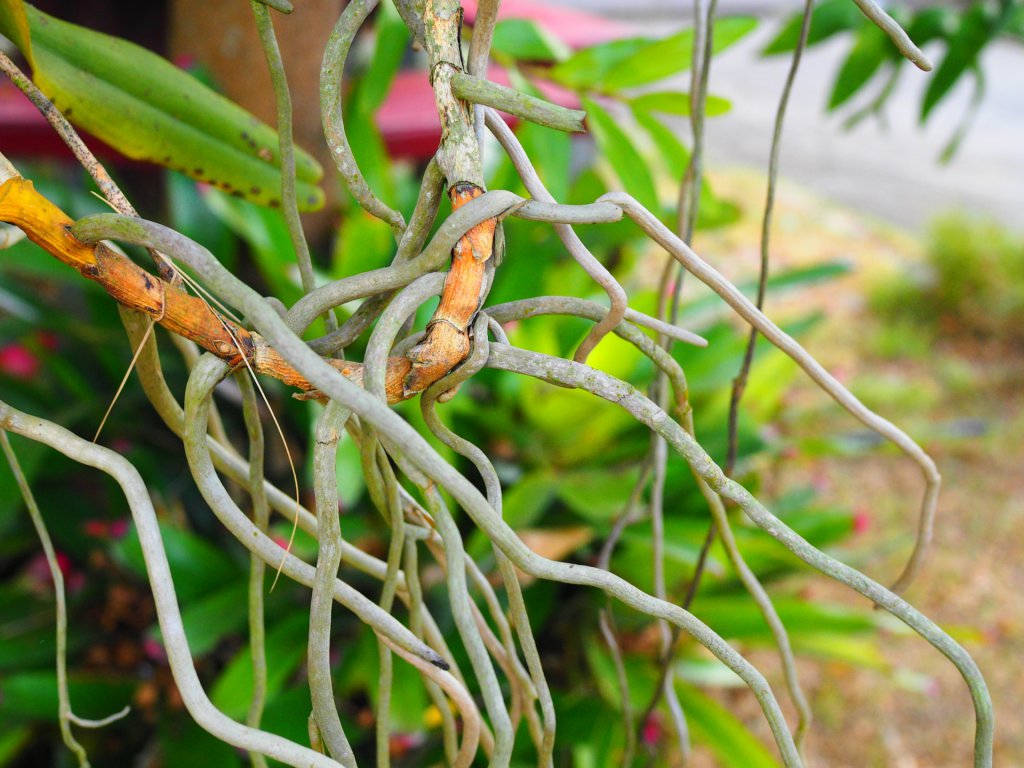
Roots growing every which way
First-time orchid growers can be shocked by how an orchid plant’s roots grow. Up, out, down, in every which direction – sometimes this can make the orchid look unhealthy when it is doing precisely what orchids usually do.
This is especially the case with epiphytic orchids like Phalaenopsis that typically come in pots. , because you may not expect a potted orchid to develop air roots. But “Phals” (their popular nickname) in the wild are tree-growing, and so these orchid roots are just growing the way they are supposed to grow.
It is essential not to cut off living, viable roots since this is basically cutting off the orchid’s life support system.
Orchids actually tolerate a degree of root crowding reasonably well, so timing your repotting is important.
Ideally, you want to repot after you see air root shoots starting to emerge from the pot and before your potting media begins to disintegrate. This is usually not more than once per year.
Step-By-Step Guide to Repotting Orchids with Air Roots
Here is a simple step-by-step to repot an orchid with emerging air roots.
1. The first and most important step is to sterilize everything – cutting shears, potting media, and new pot.
2. Use pure boiling water as a sterilizing agent.
3. Place the pot in the boiling water to sterilize it.
4. Pour boiling water over the potting mix and let it come to room temperature. Then strain out the water using a fine sterilized strainer, so only damp potting mix remains.
5. Use sterilized trimming shears to remove any rotted or dead roots.
6. Place the orchid plant in the new pot and tuck in the damp potting media loosely around it, leaving plenty of air around the roots.
Step-By-Step to Propagating an Orchid with Air Roots
Here’s how to propagate an orchid with air roots.
1. When the keiki roots are three inches long, use sterilized scissors to snip the keiki away from the mother plant, leaving two inches of stem above and below the keiki.
2. Apply natural fungicide to snipped areas of mother and baby.
3. Replant the keiki beside the mother plant in the same pot or in a new pot.